
Modern is home to so many interesting and unique decks and strategies from Mill, to Urza decks, to Tron, and even Bogles. Today, I want to talk about my favorite match-up in all of Modern: Grixis Death’s Shadow vs. Burn.
This match-up looks incredibly easy and straightforward, but once you experience it from either side, you’ll find the games are quite complex. Sequencing, timing, positioning, posturing, and managing both known and hidden information are all key concepts to master in order to succeed in this match-up.
The Death’s Shadow Side
For Death’s Shadow players, there are three keys to winning against Burn:
- Be conservative with your life total
- Pressure the Burn player’s hand
- Have an early threat
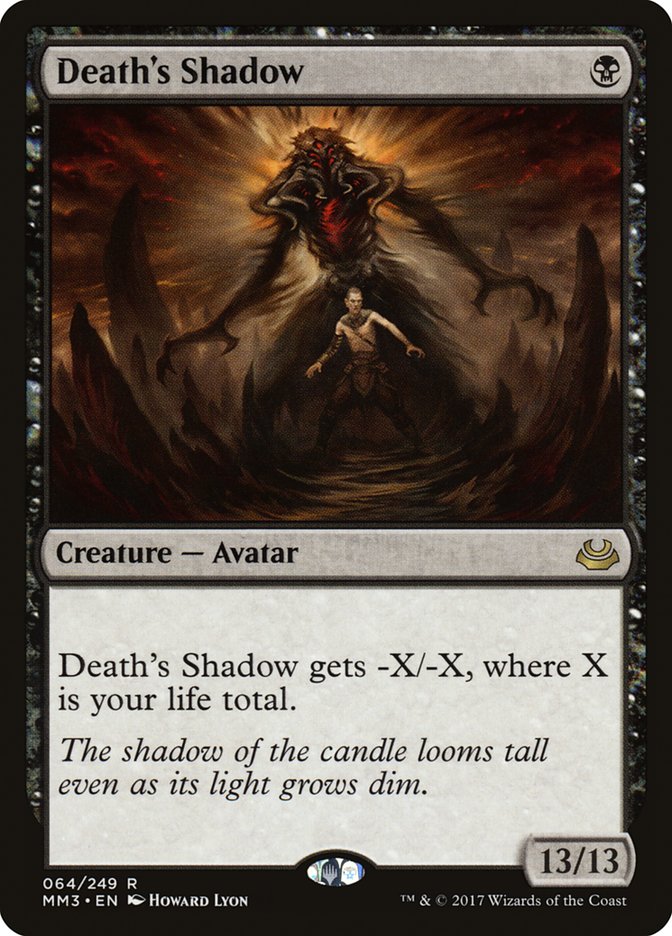
Conserving your life total may be strange for a Death’s Shadow player. You want to get a Death’s Shadow into play as soon as possible, and you can’t keep one on the battlefield if your life total is above 13. However, Burn is one of the few decks in the format that can easily punish you for being reckless with your life total. There are certainly games where you can present a turn two Death’s Shadow with Stubborn Denial backup, but that won’t happen all the time. More often, Gurmag Angler will be more valuable to you than Death’s Shadow, since it allows you to fetch basics early in the game while still presenting a threat.
It’s also hard to be the aggressor in a match-up where your opponent is playing sixteen copies of Lava Spike. However, as a Death’s Shadow pilot, you have to be aggressive, as giving the Burn player time to sit back and draw cards will almost assuredly get you killed. Attacking the Burn player’s life total and hand are therefore the easiest routes to victory. If you have a threat + Stubborn Denial + Temur Battle Rage hand, great, get in there! But Thoughtseize and Inquisition of Kozilek are also valuable here, as they both attack Burn’s resources and give you valuable information that you can use to your advantage.
While these games are often short, they play out in stages. The early game for Shadow is about developing and figuring out which threat to ride to victory; seeing the Burn player’s hand and gauging how aggressive they are helps here. The next phase of the game starts once a player has put a threat on the table. Once you’ve established a clock, the game becomes a race, so be prepared for the Burn player to start firing off all of their spells to try and beat you to the finish line.
Shadow’s Best Cards
Shadow’s best cards in the match-up are Death’s Shadow, Gurmag Angler, Stubborn Denial, Temur Battle Rage, and Inquisition of Kozilek.
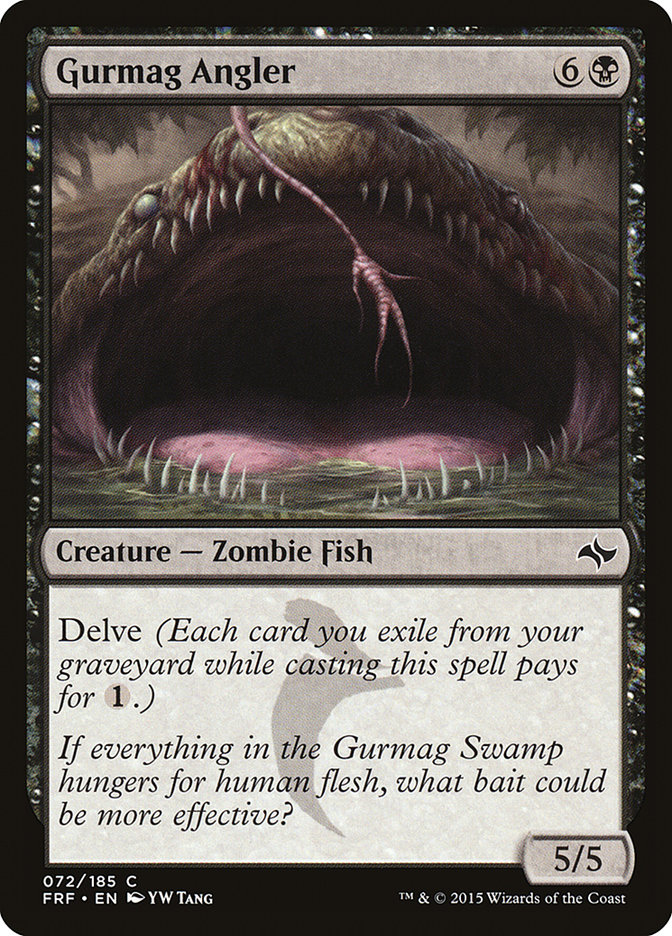
Death’s Shadow and Gurmag Angler are important because they put the Burn player in a tough position. Burn will have to decide whether they can afford to point spells at a player’s face or whether they have to spend a few to destroy Death’s Shadow’s creatures.
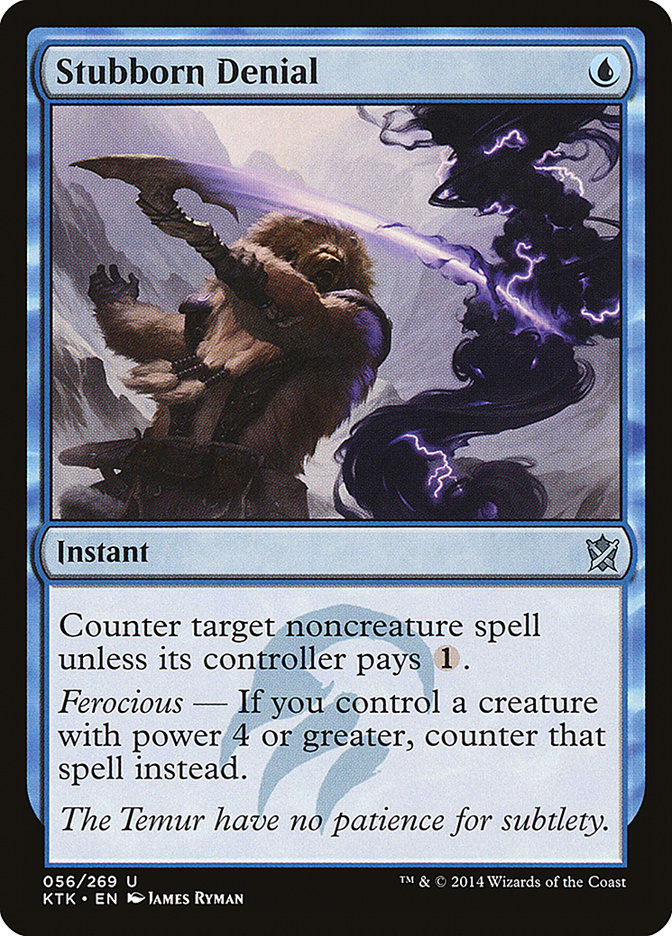
Stubborn Denial, when paired with one of your large creatures, can cancel out a burn spell and put us ahead in the race. Burn doesn’t have many ways to dig through its deck to find additional action, so once you can trade with their cards and run them out of gas, the game is yours.

Temur Battle Rage is extremely potent in this match-up because it speeds up our clock even more. By cutting the game a turn short – sometimes several turns short – Temur Battle Rage gives Burn players less time to cast their spells.
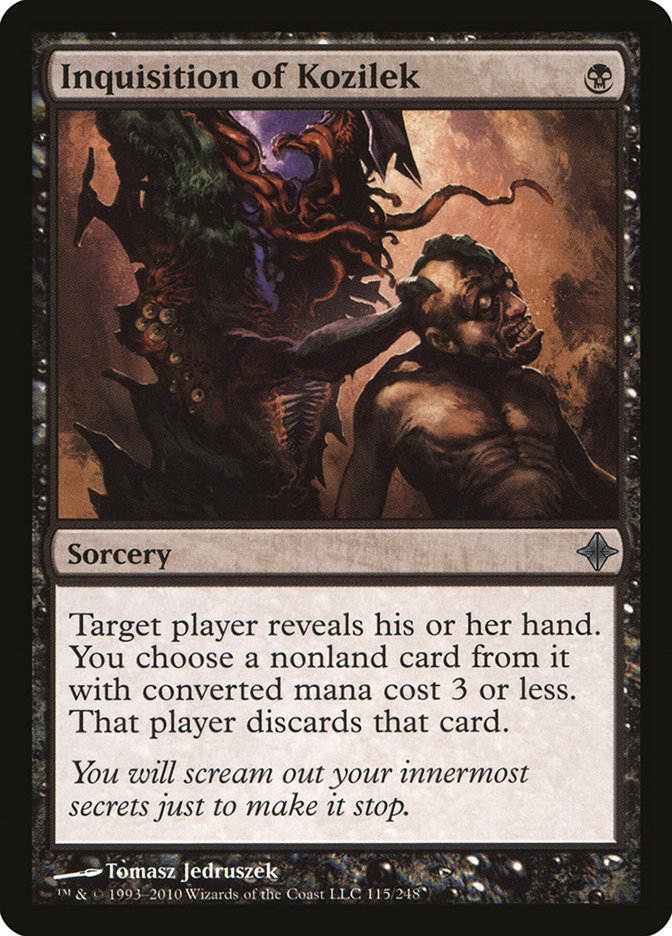
Inquisition of Kozilek is a pain-free way to look at our opponent’s hand while stripping their most dangerous card. Every spell in Burn’s deck is a legal choice for Inquisition, so it’s effectively a Thoughtseize that doesn’t cost you two life. Inquisition can take a one-mana creature from Burn’s hand when you’re on the play, or it can take away the damage source they needed to discount an expensive spell like Skewer the Critics.
The Problem Cards
A few of Burn’s cards are must-answer threats for Death’s Shadow. These include Goblin Guide, Eidolon of the Great Revel, and Lightning Helix.
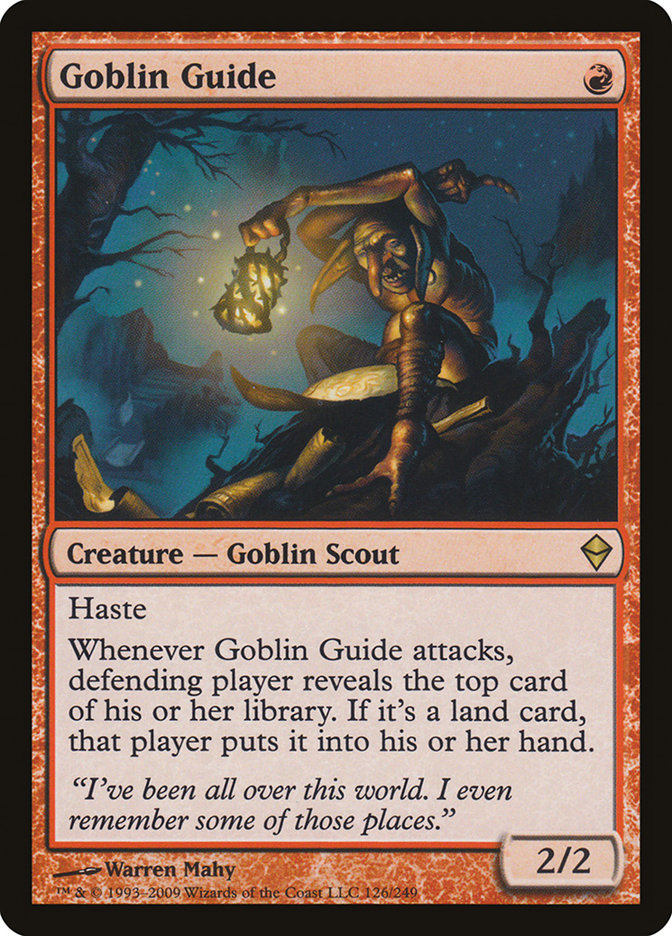
A Goblin Guide on the play is one of the best starts a Burn player can have against Death’s Shadow. It’s locked for at least two damage, but can likely get in for four. Guide can also pressure the Shadow player into fetching at inopportune times or grabbing a basic instead of a shock land, which could impact their mana development later in the game.
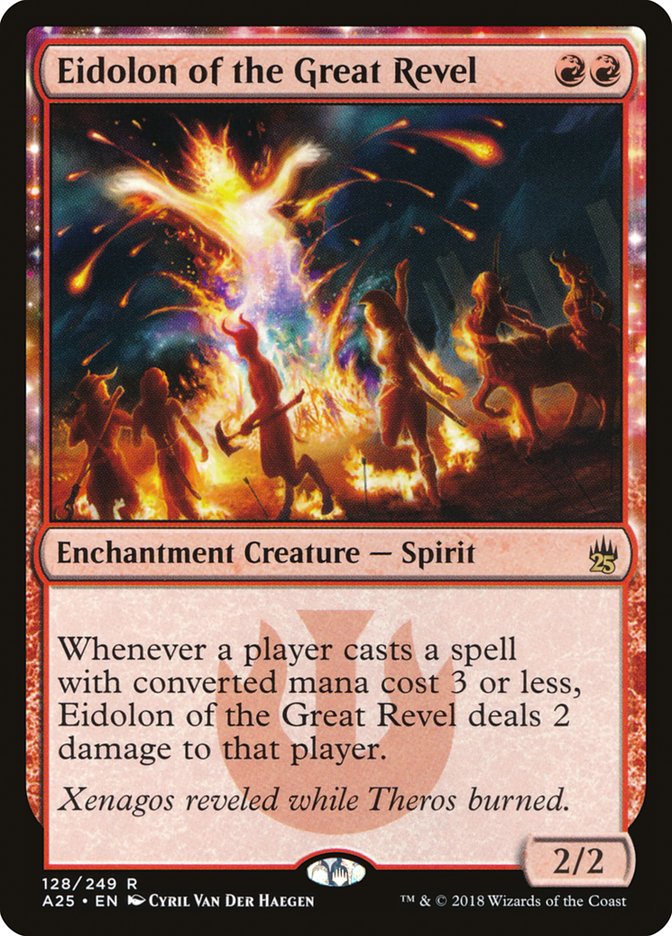
Eidolon of the Great Revel is public enemy number one as far as Death’s Shadow is concerned. Taking two damage any time you cast a spell that isn’t named Gurmag Angler is a huge problem. If you run into an Eidolon while playing Death’s Shadow, kill it on sight.
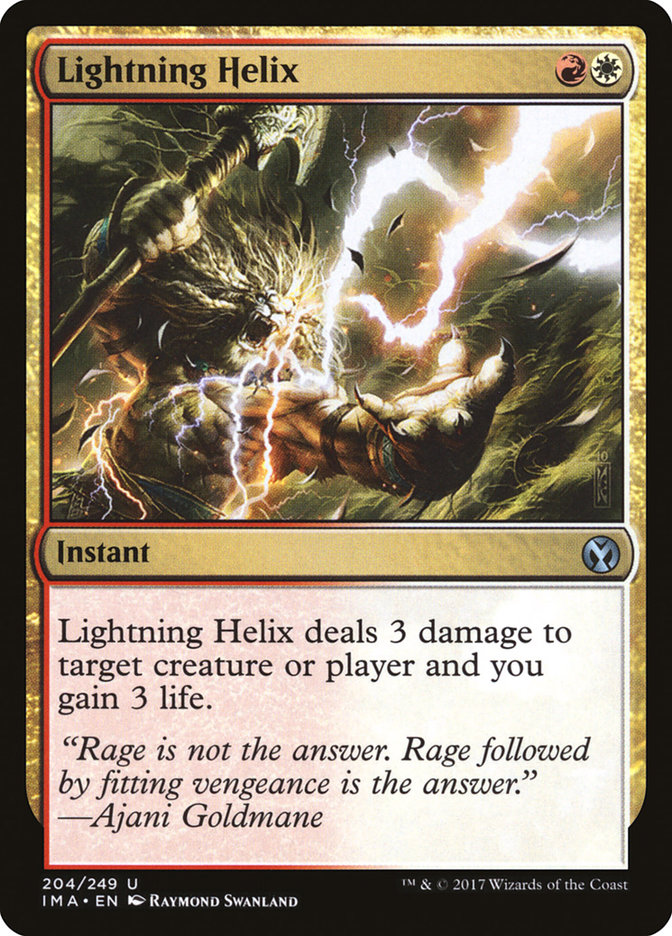
Lightning Helix may seem like an odd card to single out, since it does as much damage as any of Burn’s other spells. Once you get into a racing situation, however, Lightning Helix provides the biggest life total swing of any of Burn’s cards.
Sideboarding
Since sideboards tend to have a lot of variation, I won’t go into specifics on card quantities here. Instead, let’s talk about what cards you should bring in if you have them.
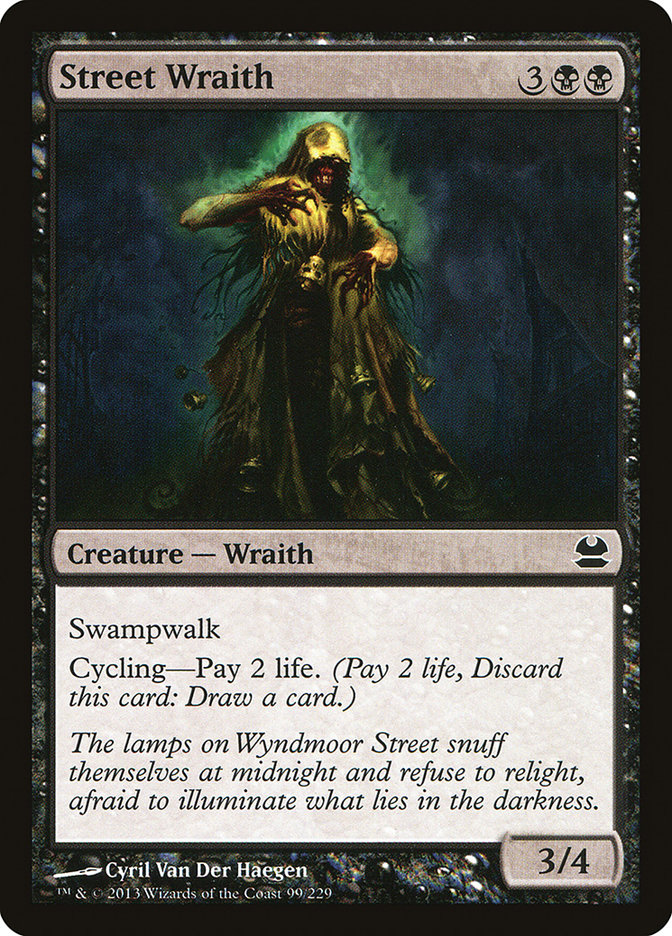
Before we jump into that, however, here’s what you should consider cutting against Burn. In short, you should always look to cut the cards that deal damage to you, including Street Wraith and Dismember. You can also trim a few Thoughtseizes if you need extra space, but keep in mind that they’re great at combating common Burn sideboard cards like Path to Exile and Deflecting Palm.
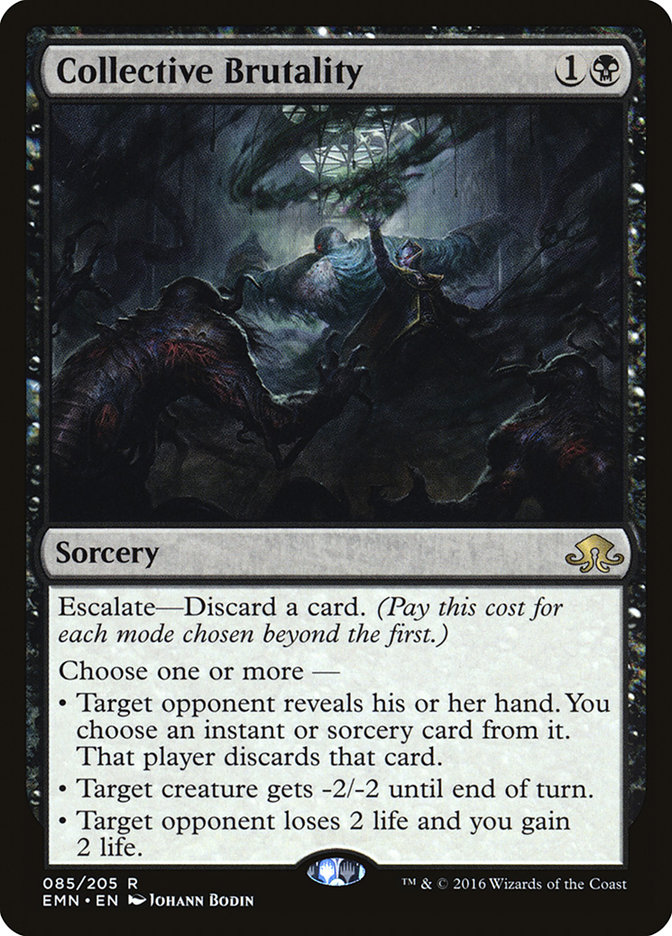
Collective Brutality is likely the best card that black midrange decks can have against Burn. Killing a creature, draining two life, and taking a spell out of the opponent’s hand is backbreaking when it comes to the resource battle. Brutality on turn two into Gurmag Angler on turn three will almost always lock up the game on the spot. Even without an Angler, a turn two Collective Brutality will likely pressure the Burn player into casting their spells, which will open the door for you to stick a Death’s Shadow.
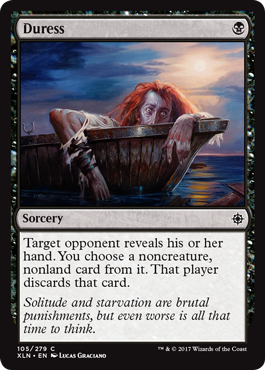
Duress and Spell Snare are both one-mana answers that don’t require a life total investment. Duress even has the benefit of letting you see the opponent’s hand and craft your game plan accordingly.
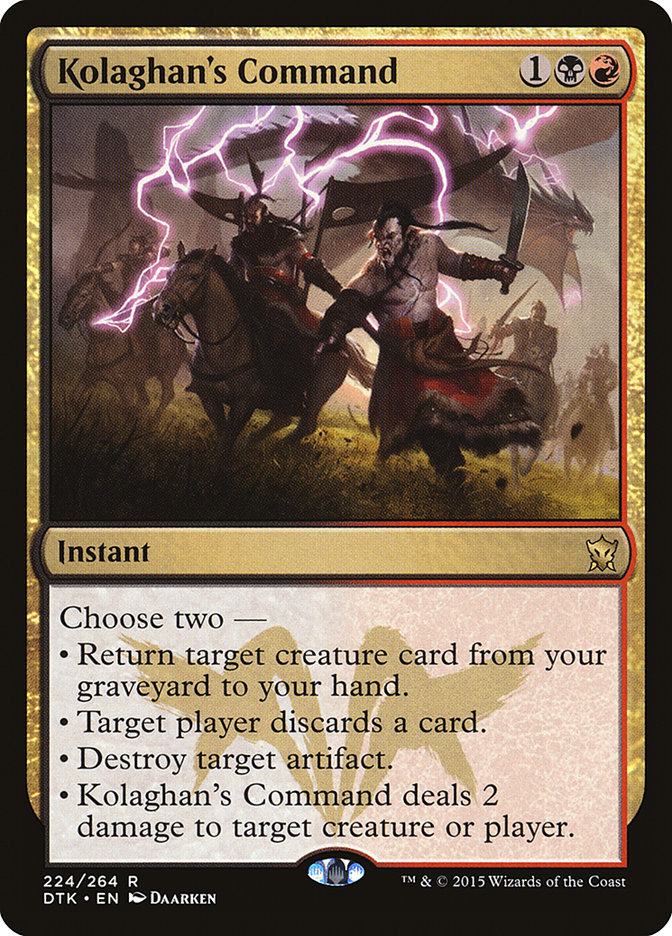
Kolaghan’s Command may seem a bit out of place, but it is a two-for-one that taxes Burn’s resources. A three-mana price tag is a bit steep, but I enjoy having a small number after boarding.
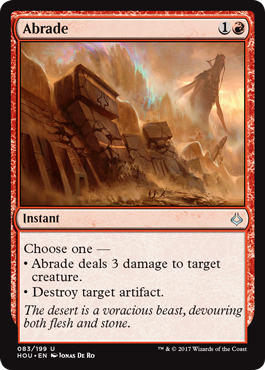
Cheap removal such as Terminate, Abrade, and Lightning Bolt are all worth considering here, too, as killing Burn’s creatures is important.
The B(urn) Side
From the Burn side, the match-up is all about these three things:
- Managing your clock (and your opponent’s)
- Gathering a critical mass of spells
- Timing
Every Modern player should be careful about how much damage you do to a Death’s Shadow player in increments. Casting burn spells on all of your turns starting on turn one is a surefire way to lose a race to a Death’s Shadow. At the same time, you want to be wary of how much time you give your opponent to set up and deploy a Gurmag Angler. It’s often best to wait for your opponent to take damage in order to enact their own game plan and then capitalize.
As a Burn player, you learn to use as much of your available mana as possible each turn, but this match-up is one where you may want to reconsider. The easiest way I’ve found for a Burn player to win a match against Death’s Shadow is to only cast spells when you have to. Saving your instant-speed burn spells is the most effective way to do this. By prioritizing casting sorceries and creatures early in the game, you can stack up instants to deal burst damage to the Shadow player later on. You can also suspend Rift Bolts to conserve mana and set up explosive turns, all while denying the Shadow player an opportunity to cast or grow a Death’s Shadow.
Some of the hardest decisions you’ll have to make in this match-up will involve playing around Stubborn Denial or Temur Battle Rage. Thankfully, the plan outlined above does a pretty good job at overloading potential Stubborn Denials; just make sure your plan still works if your opponent can counter one of your burn spells. Beating Temur Battle Rage is a bit trickier, but luckily, there’s a pretty easy tell: Death’s Shadow’s most important spells are all blue and black, so you’ll know they have Battle Rage if they intentionally search for a red land. Beating Temur Battle Rage may involve blocking in a way that you otherwise wouldn’t, or simply challenging them to have it and then lighting them up after they cast it.
Burn’s Best Cards
The best cards in the match-up out of Burn tend to be Lightning Bolt, Rift Bolt, and Lightning Helix. You’ll notice that all these cards can be cast at instant speed (sort of), which plays right into the Burn game plan.
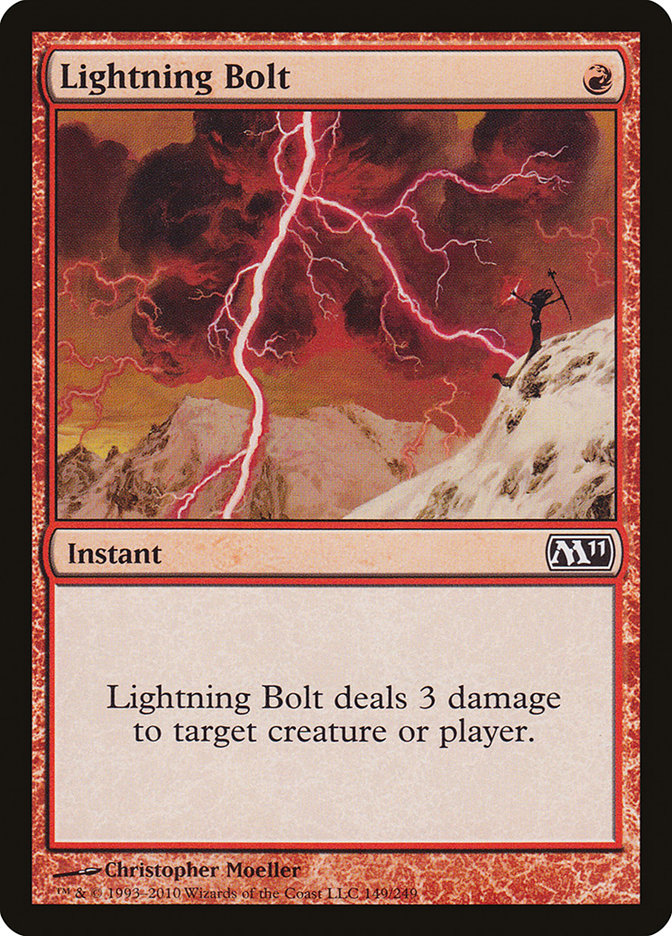
Lightning Bolt is cheap, efficient, and flexible. Being able to deal three damage on an end step or enable Skewer the Critics for a single mana is big game. Often, the Death’s Shadow player will either have to run out a small Death’s Shadow to keep up tempo, and Lightning Bolt is one of the few clean answers in this spot. However, the mere fear of Lightning Bolt might scare a Death’s Shadow player off this line – in which case, you’ve bought yourself some time.
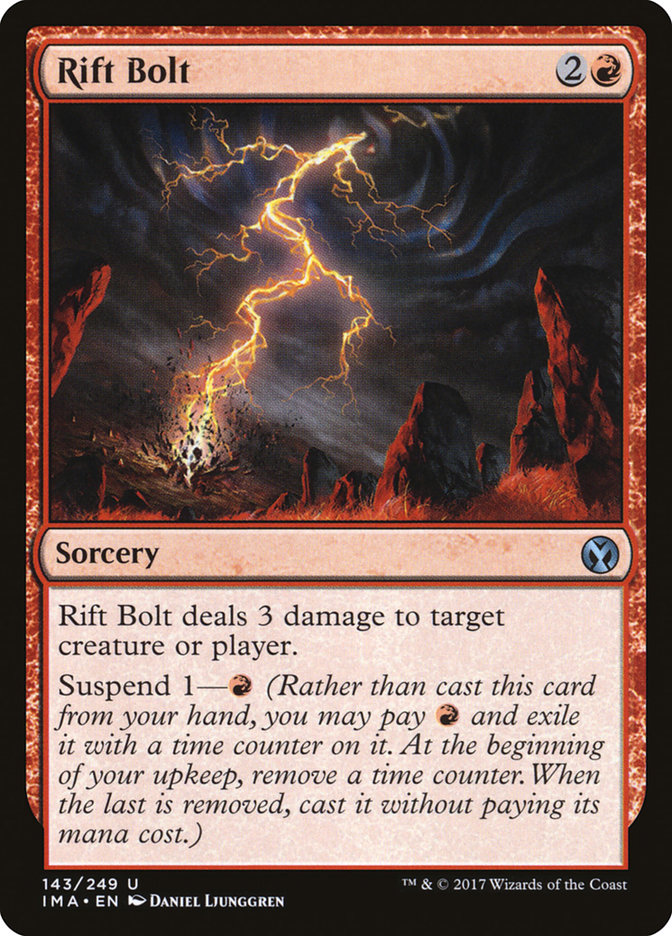
Rift Bolt is a Lava Spike that steals more time from your opponent. They have to take the damage on your turn, so they can’t capitalize on it right away.

As we mentioned earlier, Lightning Helix provides Burn with the biggest life total swing in the match-up. Gaining three life doesn’t seem like a lot when your opponent is battling with Death’s Shadows, but it could buy you a turn.
The Problem Cards

Burn doesn’t have many flexible answers aside from Path to Exile or Deflecting Palm, so it’s unlikely that you’ll be answering your opponent’s creatures directly. The best way to minimize the impact that their threats is by keeping their life total above 13 and then piling on damage over the course of a couple turns.
Sideboarding
Burn’s least impactful cards against Death’s Shadow are Eidolon of the Great Revel and Searing Blaze. Eidolon may not seem like the right card to take out here, especially since we mentioned earlier that it’s a must-answer card for Death’s Shadow. Unfortunately, it exists in the glutted two-mana slot, and instant-speed interaction is simply more useful for Burn in this match-up. Furthermore, the Death’s Shadow player can actually use the triggers to their advantage if they’re short on ways to grow their Death’s Shadow. Searing Blaze just doesn’t reliably kill anything, and a two-mana burn spell doesn’t have much place without the added utility.
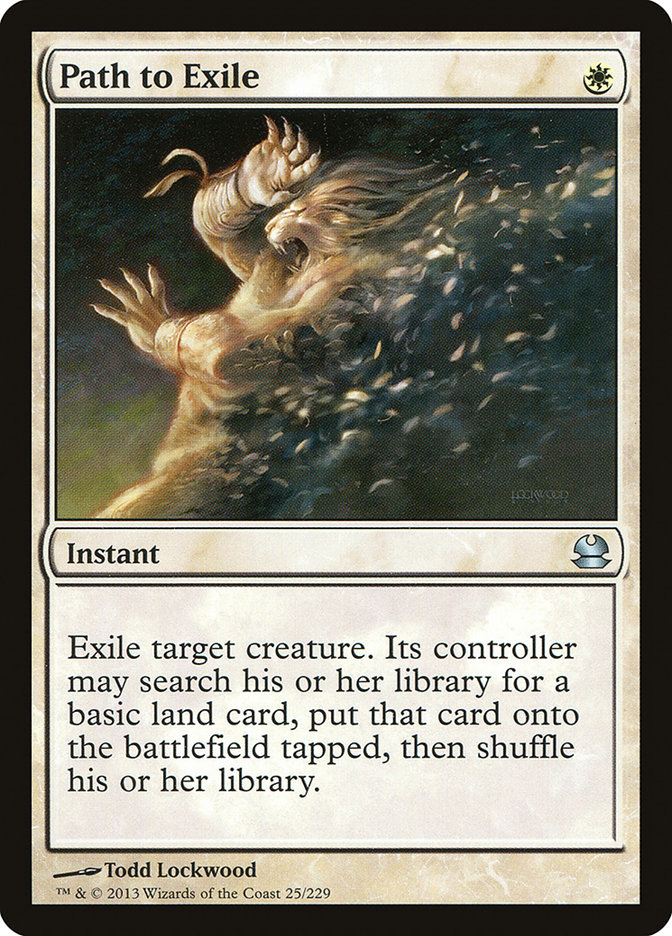
The most attractive options out of most Burn sideboards are instant-speed interaction like Path to Exile and Deflecting Palm. Path is an unconditional removal spell, and Deflecting Palm allows you to completely turn the tables on your opponent. Skullcrack is also worth considering, as it supports the “instant-speed burst damage” plan and stops Death’s Shadow players from gaining life with Collective Brutality.
Who Wins?
Overall, I believe Burn to be slightly favored in this match-up, but it’s incredibly close, and the player who knows the match-up best will likely win. Death’s Shadow needs a few more things to go right in order to win, but I think it has the better sideboard cards in the match-up. Both decks have the tools available to win the games; it all comes down to how they’re used.
Hopefully this has given you some insight on what I believe to be one of the most complicated and deep match-ups in all of Modern. Let me know what you think on Twitter at @RappaciousOne!

Michael Rapp is a Modern specialist who favors Thoughtseize decks. Magic sates his desire for competition and constant improvement.