
In your time playing Magic: The Gathering, you might’ve heard the term “mana curve.” Or perhaps “curve out” or “on-curve.” If you’re wondering what these words mean – or if this is your first time hearing them – you’re in luck! This article’s got you covered.
I’ll be going over what a mana curve is and what a good one looks like. I’ll also cover a few things to keep in mind that might affect your mana curve.
Get ready to nerd out while you curve out!
Learning Curve
Generally speaking, the player who can use the most mana to cast spells over the course of a game wins. One way to maximize your mana use is having the right ratio of lands to spells for your deck.
However, if every spell in your deck cost seven mana, you wouldn’t have much to do on turns one through six. In fact, you’d most likely lose the game before you even cast your first spell! That’s a lot of unspent mana.
Conversely, if every spell in your deck cost one mana, you might run out of spells to cast too quickly. Your one-drops would quickly become outclassed by your opponent’s spells with heavier costs, and you’d have few meaningful ways to use your mana in the latter part of the game.
Just as you need to balance lands with spells, you need varying mana costs among your spells. Especially in Limited, casting a three-mana creature on turn three followed by a four-drop next turn is strong.
This aspect of deck construction is called the mana curve!
Grade on a Curve
Graphing a deck’s spells by converted mana cost, in order, shows a curve. Kind of like this:
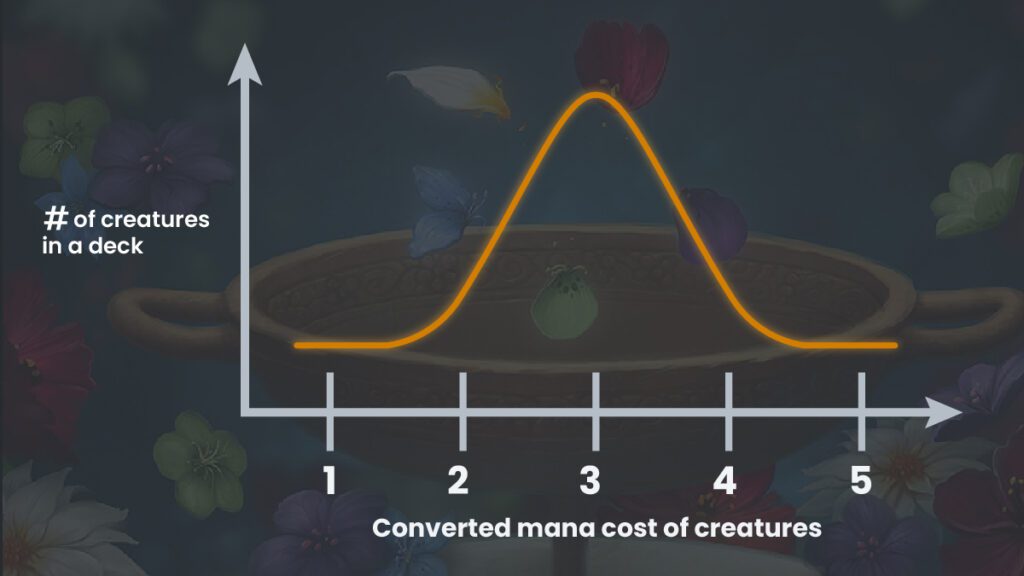
At least, that’s what it should look like in the average deck. There are exceptions, of course, especially in Constructed formats (we’ll get to those later in the article).
In Limited, casting your spells “on-curve” (the turn when you want to cast them) leans a game in your favor. To achieve this, you’ll need a certain number of cards per converted mana cost. How many to include depends on the format. For the following example, we’ll focus on Limited, as that’s where mana curves are most impactful.
In Limited, you generally want to have cast a spell (usually a creature spell) by turn two. A first-turn spell is nice, but isn’t as impactful in the average Limited deck. It’s okay if you don’t play anything on the first turn; that’s a great time to play a land that enters the battlefield tapped instead.
Here’s the suggested number of cards you’ll want to play at each mana cost in an average Limited deck:
0-1 Mana — 1
2 Mana — 5
3 Mana — 6
4 Mana — 3
5 Mana — 2
6+ Mana — 1
You can generally give-or-take one card for each spot on the curve, but prioritizing lower-cost cards is a good idea. You can always play several cards of lower mana costs on later turns, but you can’t much early in the game if you have too many cards you can’t cast.
Curve Ball
When you add up the number of cards for a suggested mana curve above, you may notice that it only adds up to 18 cards – fewer than you typically include in a Limited deck. This is because your deck also typically includes spells you don’t cast on-curve, such as removal, combat tricks, and auras. Just because they cost one or two mana doesn’t mean you want to cast them on turn two!
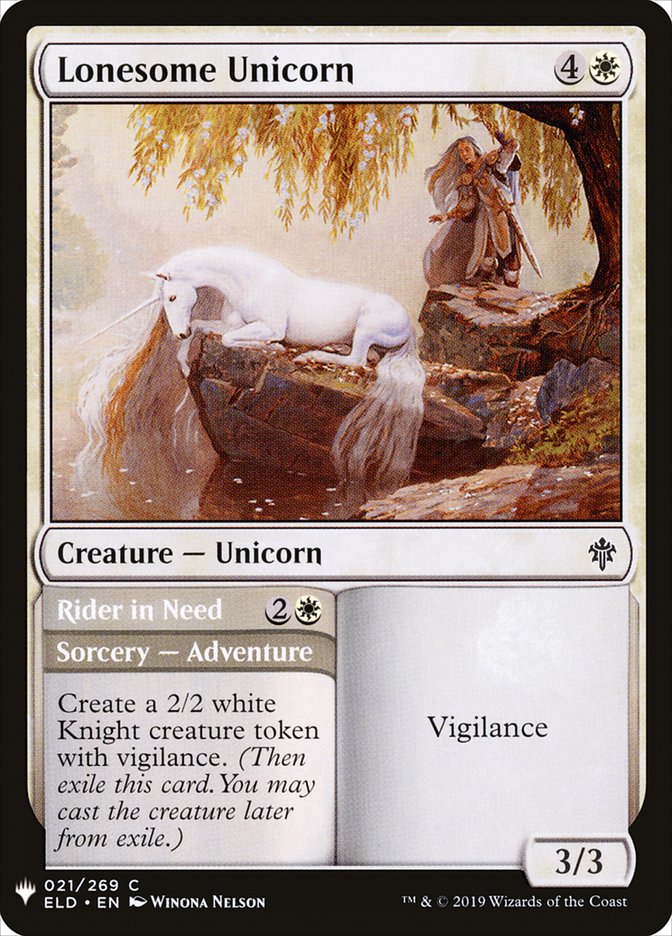
Some cards may also be cast in different ways, and each way has its own unique cost. Examples include the mutate cards in Ikoria: Lair of Behemoths or Throne of Eldraine’s adventure creatures.
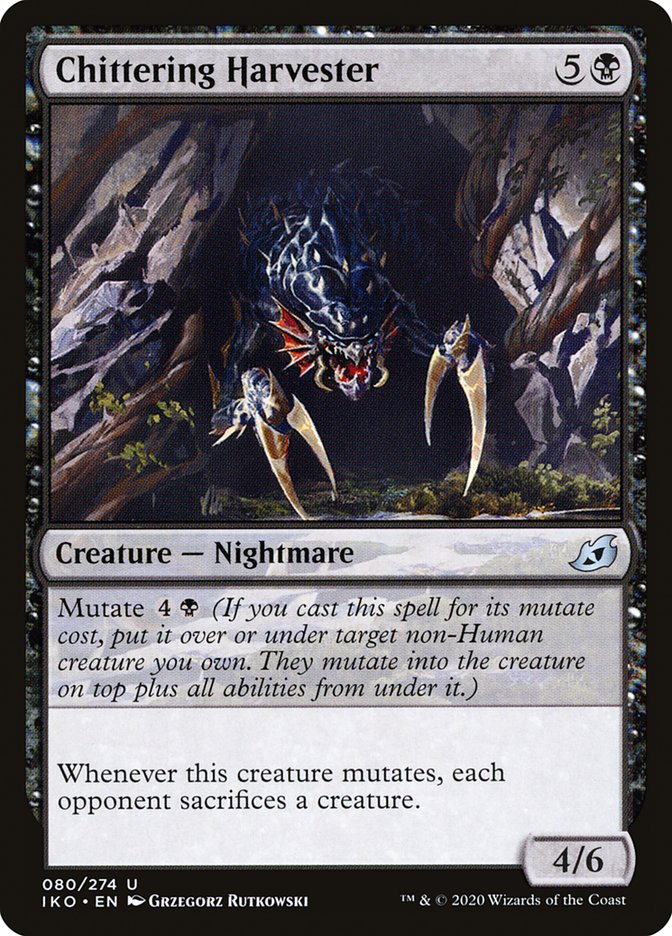
If you’re playing a deck with lots of mutate synergies, you might have plenty of early creatures to play. In this case, you can consider the mutate cost of a card when you’re deciding where on the curve you’re likely to cast it.
If you’re playing a card like Lonesome Unicorn, you might prefer to always cast its adventure before casting the Unicorn itself. In this case, you might consider it a three-drop card.
You should also consider cards that ramp. Let’s say you’re playing a Winota deck. You have four copies of Gilded Goose and four copies of Arboreal Grazer. In many cases, you’ll find that you’ll have access to three mana on your second turn. Because of this, your deck may not need as many two-drops.
Another factor to consider: companions and commanders. Since you start the game having access to your companion and/or commander, tweak numbers in your curve accordingly. For example, when I’m playing my Arixmethes Commander deck, I always want to cast Arixhmethes on turn four. As a result, I have fewer cards that cost four mana to play on-curve. Additionally, because Arixmethes is a reliable ramp card, my curve jumps up a bit for the next turn.
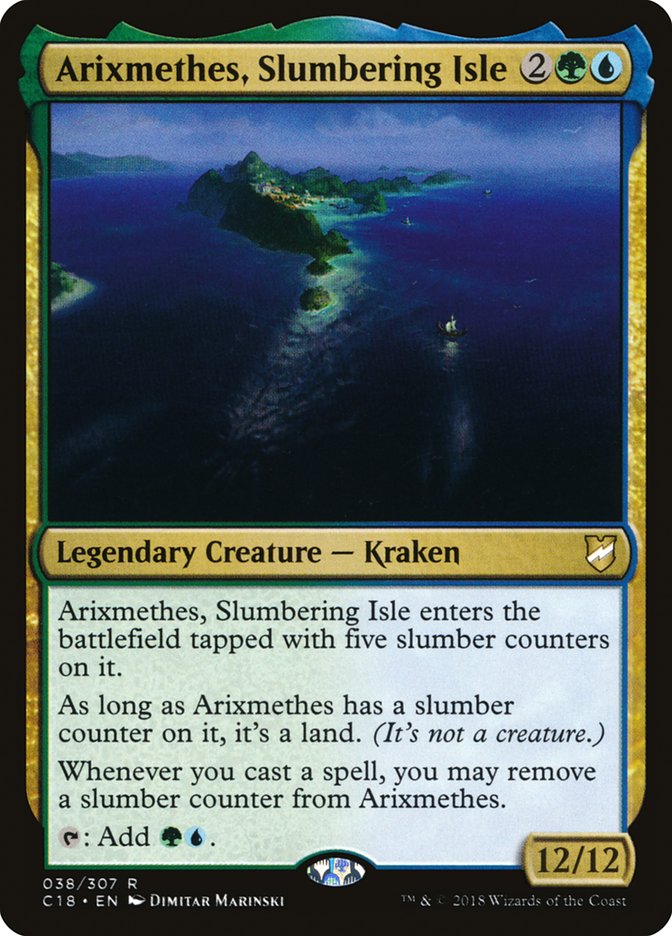
For this sea monsters Commander deck, the rough, oddball curve looks like this:
0-2 Mana — 10
3 Mana — 0
4 Mana — 1 (Arixmethes)
5 Mana — 0
6 Mana — 0
7 Mana — 7
8+ Mana — Everything Else
As you can see, a curve can vary wildly by deck. It ultimately comes down to determining what cards you want to be casting when.
Ahead of the Curve
Thanks for reading! I hope this helps you fine-tune your decks. If you have further questions about mana curve (and beyond), you can send me a tweet at @bradleyrose.
Are you new to Magic and want more content teaching you about the game? Sign-up for our emails and we’ll make sure you’re in the know about new content!

Bradley is a co-host of a weekly Magic: The Gathering design podcast, Beacon of Creation. He was among the Top 101 contestants in Wizards of the Coast’s Great Designer Search 2. He enjoys crafting custom Magic product experiences, like Archfrenemies, and building Commander decks with creative constraints.