
The final war against Phyrexia is here, and we’re all getting Drafted to help defend the Magic multiverse! The frontline of this fight can be confusing at first, with new mechanics and even a new card type to contend with. Never fear though — the Card Kingdom draft guide is here to help you prepare for the battles (and Battle cards) ahead in March of the Machine.
SHAPE OF THE FORMAT
A few key design choices give March of the Machine a different feel to other draft environments. The most obvious one is probably the huge number of high-powered bomb creatures available in every single draft.
Most other sets will have some number of “dud” rares that fill up packs without heavily impacting Limited play — rare land cycles, narrow sideboard-hate cards, highly specific build-arounds without support in-set and so on.
But in MOM, there are really only two or three rares in the whole pool that can be seen as such draft liabilities. On top of that, every booster adds a Draft-legal Multiverse Legends card, which will at minimum be a high-impact uncommon creature.
With the top-end being Ikoria companions and game-warping Mythic rares, it is not uncommon to double-up the number of bomb rares you could expect in an average set.
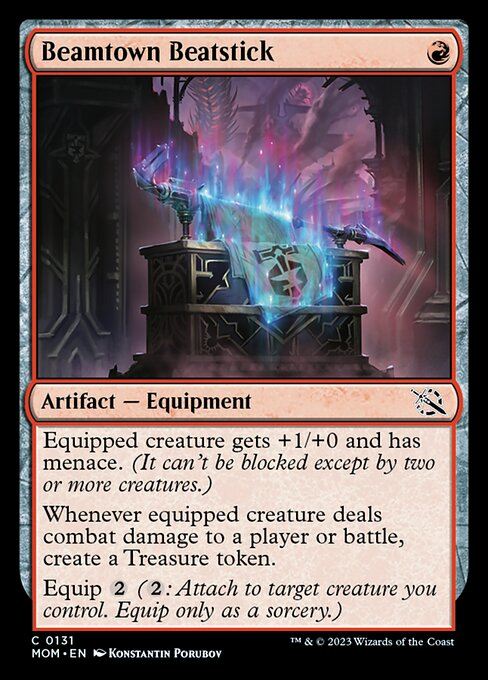
In order to offset the high power-level of these creatures, Wizards of the Coast has made sure to include cheap, unconditional removal at common in every single color. Multiple such spells, even. White and black, especially, are just about overflowing with what would be precious, first-pick, kill spells in a less EPIC format.
It’s a delicate balancing act to pull off, trying to let these legendary bombs have an impact on games while still giving the other player a hope of fighting back. But after my first 70 games or so, I have to say Wizards’ design team has done an impressively good job.
The powerful, transforming two-drops and tribal bonuses can snowball into immense, early pressure if your opponent isn’t ready with their first removal spell. But MOM manages to avoid the ultra-volatile “no comebacks” feeling of Streets of New Capenna or Adventures in the Forgotten Realms thanks to a much stronger roster of cheap blockers, and set mechanics that tend to not front load value on the earliest turns.
This slightly slower pace is both encouraged and rewarded by the new Battle cards. You may not be able to completely close out a game off a turn-three edge — but you CAN capitalize on your tempo advantage to flip a few battles into free heavyweight threats!
I would advise against playing more than one or two battles per deck until you get a feeling for how they affect play, but they are hands-down the most interesting wrinkle for creature combat since Vehicles were added.
For experienced drafters, I would compare the overall gameplay to sets like Kamigawa: Neon Dynasty or Crimson Vow — but only in this broader sense of pacing and potency. For the rest, we’re going to have to get deeper into the actual mechanics and archetypes March of the Machine Draft offers.
COLOR ARCHETYPES
In terms of draft archetypes, MOM keeps it traditional with well-defined gameplans for each color-pair, albeit with enough overlapping synergies that three-color decks also feel quite natural. The designers have also managed to make said gameplans feel distinct from the actual keyworded mechanics of the set, so there’s never a feeling of being “on rails” in packs two and three as you hunt for whatever cards fit your narrow niche.
Every deck will utilize incubate, backup, battles and transforming creatures to some degree regardless of color. And yet the design of those mechanics is innovative and impactful enough that they never “blend into the background.” They really are one of the greatest strengths of a generally excellent Limited set.
What might not be seen as a positive is the greater-than-expected disparity between the colors. Green, blue and black seem like much deeper and safer card pools to anchor your draft compared to the less-reliable white and red. Luckily this tends to not be felt as much in game, as it is very easy to get yourself into at least one of the Sultai colors even when building a more aggressive creature strategy.
White/blue: KNIGHT TEMPO (AGGRO)
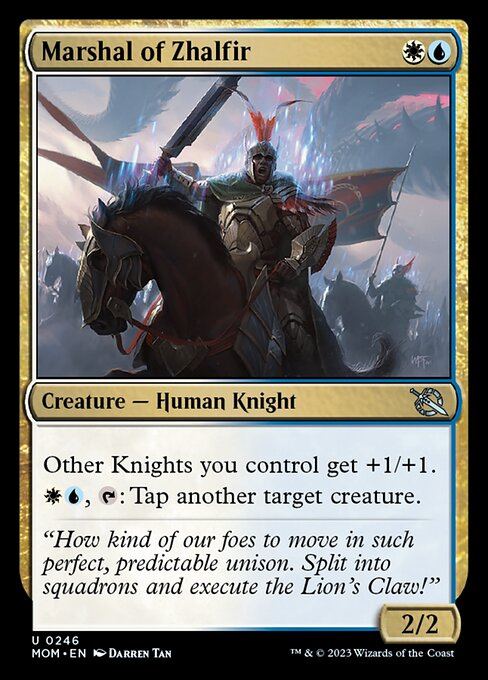
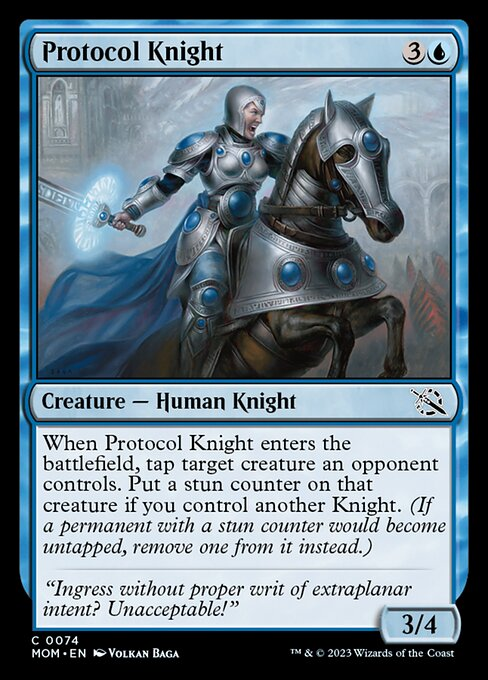
One of the two major tribal archetypes, Teferi’s long-lost countrymen have returned to reality with the nastiest tempo deck of the format. Between blue’s many tap-down effects, white’s combat tricks and a healthy dose of flying and first strike, the stronger knight decks can render blocking completely irrelevant. These are by far the least-fun games MOM has to offer (at least for the opposing player), but they seem to be the exception rather than the norm.
Outside of those high-roll scenarios, the white/blue deck must sometimes play a more patient game. Your first strike and tapping effects are even better for maintaining board-stalls than for breaking through them, and convoke spells let you leverage your knights without risking them in combat. Eventually you’ll build enough resources to mount a single overwhelming charge.
Blue/black: MUTUAL MILL (CONTROL)

If white/blue is sneakily a control archetype, then blue/black is one unabashedly. By milling both players, its spells create a stockpile of resources while also removing the hardest part about playing hard control — finding an actual win condition. So long as you save your last mill effect to empty both libraries on your own turn, you can essentially guarantee a kill (there is almost no way to force your opponent to draw in this format).
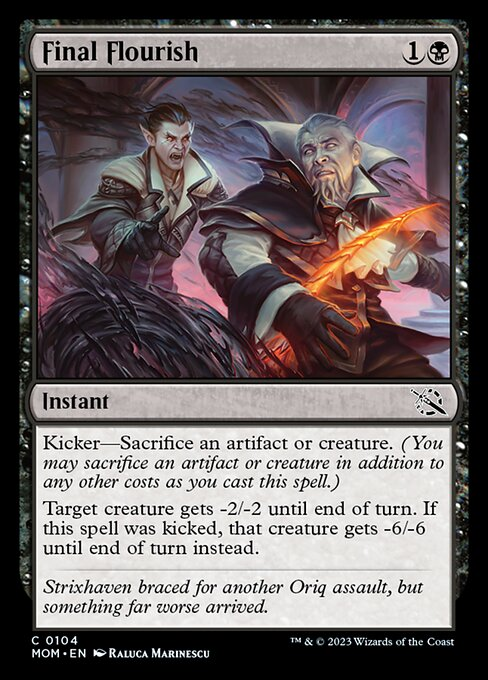
If you need a little card advantage, try 2-for-1 creatures like Nezumi Informant and Skittering Surveyor. Maximize their value with sacrifice costs like Final Flourish and Corrupted Conviction, or recursion like Unseal the Necropolis and Nezumi Freewheeler.
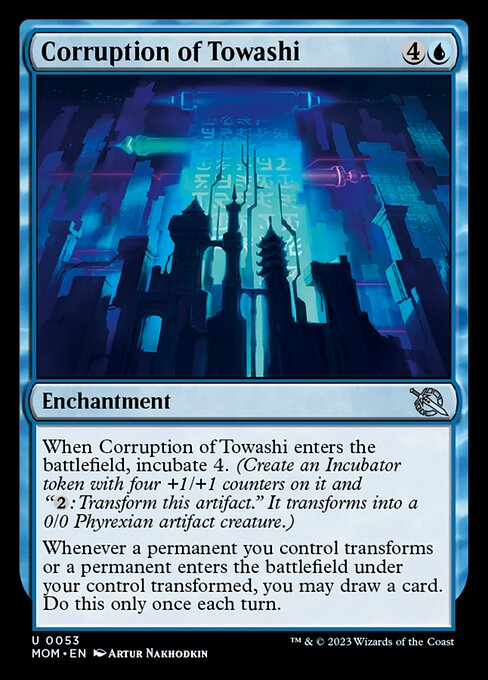
The other major engine I’ve been impressed by is Corruption of Towashi. Blue/black has probably the best set of “incidental” incubate effects in Merciless Repurposing, Traumatic Revelation, Eyes of Gitaxias and Assimilate Essence, so you can get a lot of easy transform triggers without taking away from the main plan.
White/black: PHYREXIAN SWARM (AGGRO)

This is an amazing set to be a fan of sacrifice-based aggro decks (a.k.a. “Aristocrats”). Not only do we have the traditional red/black sacrifice theme coming up, but this ruthless white/black Phyrexian tribal deck does more than a little dabbling in those waters.
You can run a lot more one-drops than usual in Draft, knowing they will offer later value either on their own, or by fueling cards like Compleated Huntmaster, Corrupted Conviction, Final Flourish or Invasion of New Capenna. The hyper efficient Kor Halberd can also amplify the impact of each individual creature – especially stacking multiple at a time.

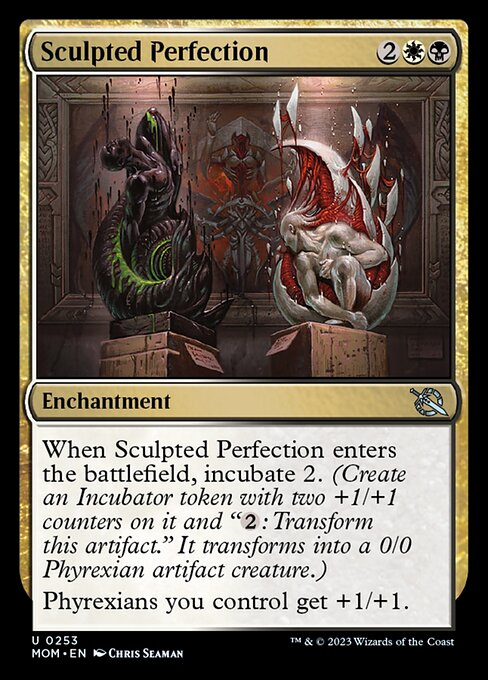
If your opponent is able to stabilize with bigger blockers you can’t remove, the Frazzle-Cannon from said Invasion (along with other tribal effects like Sculpted Perfection) will help get you over the top. But given the sheer amount of removal WB has to offer, you shouldn’t need to rely on them too often.
Black/red: SACRIFICE TEMPO (AGGRO)
In terms of power level, I’m not really sure this deck can measure up to the solid tribal synergies offered by the white/black deck. Wizards of the Coast has moved the only “steal your creature” effect up to uncommon, so you can’t expect to win too many games by feeding opposing creatures into your sac engines. There’s also some unfortunate anti-synergy between the gameplan of “sac your small creatures” and the other things red does well this set — battles and convoke.
Instead, you’ll want to lean on traditionally strong aggro creatures and red’s extremely potent burn to force trades and keep the board as empty as possible. That way forced sac effects like Pyretic Prankster and Invasion of Azgol will be harder for opponents to play around.
Small boards also favor your various menace and first strike creatures, letting them swing in without fear of multi-blocks and chip away all your opponent’s life. Trade aggressively to keep them from stabilizing as long as you can, and then hope you can deal any remaining damage with Onnake Javelineer or Stoke the Flames.
Blue/red: CONVOK-ENS (CONTROL)
Let me immediately say the “control” label here is very loose; every archetype this set outside of blue/black and black/red are relatively flexible in how fast they can play, and blue/red might be the most flexible of all.
You can have unbelievably fast games thanks to the overwhelming power of on-curve Khenra Spellspear and the snowballing effect from clearing cheap battles. Or you can drag games out for an age, holding up triple the effective mana of your opponent thanks to an army of tokens and convoking out Meeting of the Minds over and over.
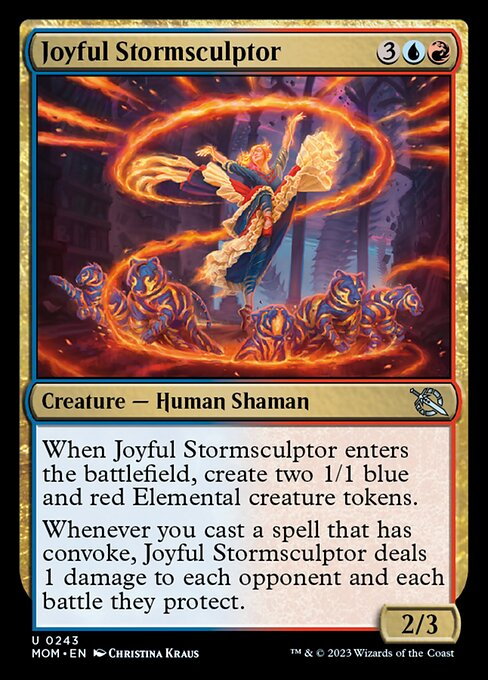
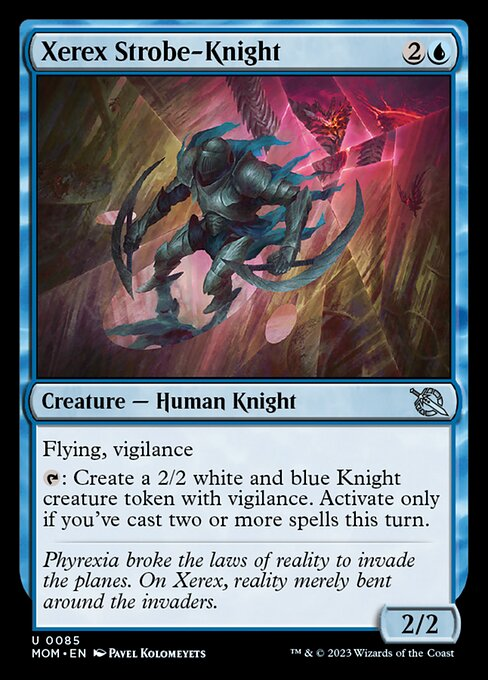
Going fast is probably more difficult to pull off since you rely on some of the most hotly contested cards in the set — the Khenra, Volcanic Spite and Stoke the Flames. But even without those, you can still flip a lot of battles with the excellent War-Trained Slasher — or simply outflank your opponent with extra bodies from Preening Champion, Xerex Strobe-Knight and Joyful Stormscupltor.
Red/white: BACKUP (AGGRO)
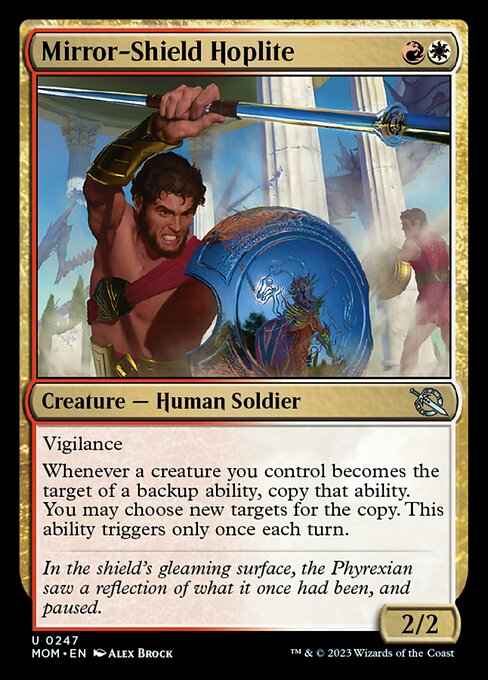

As I hinted at earlier, this might be the weakest of all archetypes this set — although the better critique is “least consistent.” Draws with Mirror-Shield Hoplite and an ascending curve of backup creatures will absolutely ruin someone’s day. And even drawn in the late game, the doubled-up value and strong keywords can spark a comeback.
I love backup as a mechanic, and there are some really cool sequencing opportunities with these cards that go beyond the obvious lines of your average aggro archetype. However, the sheer amount of nasty removal floating around in this set does make it less likely that you will get to make the most of your buffed-up, backed-up creatures.
Playing some three-color balance with green is most likely the best way to make this into a winning archetype. As we’re about to see, there are a huge number of beneficial interactions between those three colors; even enough to justify the significant risks of color screw.
Green/white: +1/+1 COUNTERS (AGGRO)
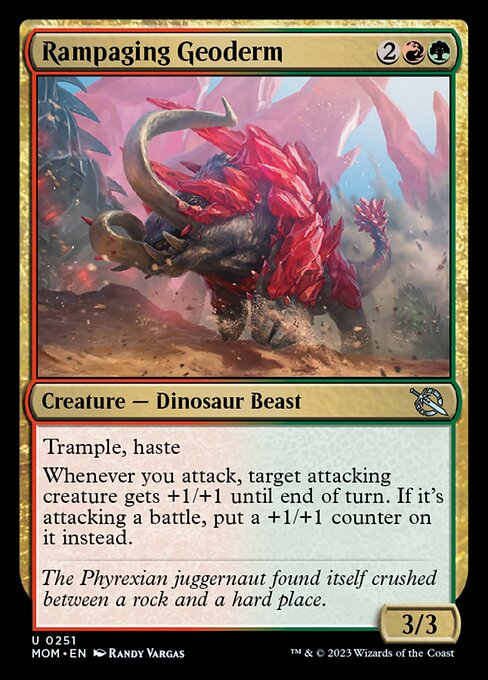
A perfect example of how each deck is encouraged to use many mechanics, the loose green/white theme of “+1/+1 counters” has immediate synergy with backup and incubate on top of its own more targeted cards. But your potential interactions run deeper than that: Placid Rottentail is excellent with self-mill cards from blue and black, while Ichor Shade and Rampaging Geoderm are reliable counter-generators to reward a splash.
More generally, you’re among the fastest decks in the format and should play around combat tricks and green’s incredibly-solid two-drops. You get some built-in scaling from your counters if the game goes long, so use that as an excuse to lower your curve and cut as many of them short as you can.
Green/blue: TRANSFORM (RAMP)
The remaining green archetypes besides green/white are much less clearly divided than any other color pairs. In the end, they are just different ways to capitalize off green’s powerful ramp and fixing effects. It has become far less common to see ramping spells that also let you fix colors, and this homogenizing effect is probably why.
There is not really any reason to limit yourself to just one color pair or one mechanic after you’ve drafted three or four ramp-fixing spells (plus enough excellent green two-drops to hold the line for the early game). Furthermore, the real aim of this strategy is playing all the rare bombs you can possibly draft, which almost inevitably leads you into playing three or four colors.
The cheat code to improving your ramp, fixing and beef requirements all at once? The cycle of expensive, land-cycling monstrosities at common. If you have a big, rare, nasty to splash for and no other cards in that color, these big’uns can perfectly ride the line between “too many lands” and “not enough.”
In games where you don’t think it will be important to cast them, or it will be important to have many lands, you can cycle them as aggressively (or not) as you want. The potential tempo-loss should you have to pay to make a land drop is haunting, but it’s worth it to know you have a way higher density of must-answer creatures AND fixing options compared to your opponents.
Black/green: REMOVAL RAMP (MIDRANGE)
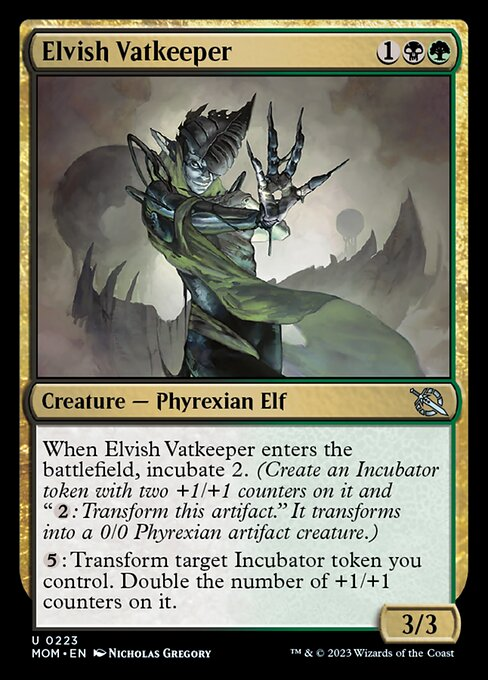

Wizards of the Coast seems to have advertised this color pairing as focused on incubate specifically, but I can only really see that realized in the (admittedly very good) Elvish Vatkeeper. What does stand out about black/green is how well the combination of creatures and removal scale into the late game.
Both black and green enjoy powerful, late game battles with removal spells on their front side and big monsters on the back. Black can throw in Merciless Repurposing as another backbreaking two-for-one.
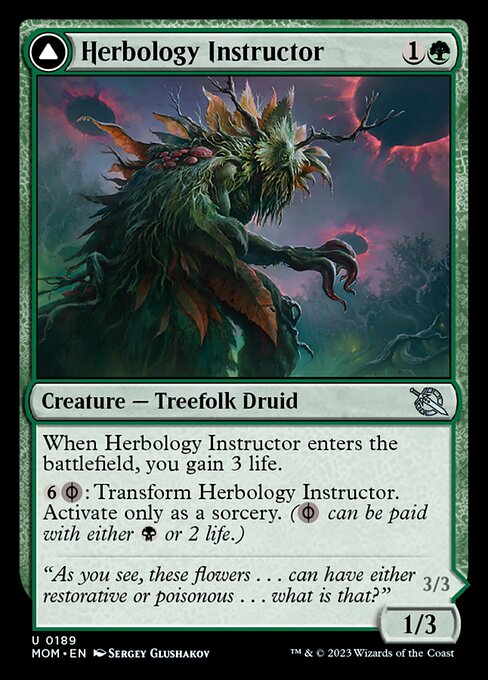
Piling enough of these on top of each other — not to mention others like Ravenous Sailback, Phyrexian Gargantua, and the transformation of Herbology Instructor — is all but guaranteed to batter down your opponent.

Armed with a huge supply of the biggest creatures and best removal, your only fear is your opponent goes too wide and too fast for you to catch back up. You could solve this by playing a steady curve of strong, defensive creatures with deathtouch and lifegain built in.
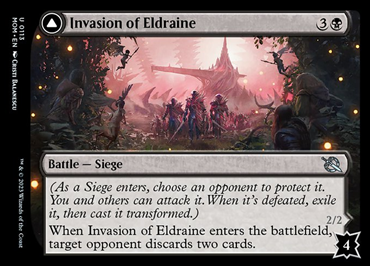
Or, you could aim for a daring ramp chain to skip past the early and midgame. Turn two Portent Tracker, into turn three Deadly Derision, into Invasion of Lorwyn turn four. Not a lot of decks can come back against that.
Red/green: BATTLES (MIDRANGE)
Red/green is definitely the color pair with the loosest mechanical identity. As with many other sets, the focus is more on playing the biggest creatures and most efficient burn or pump spells to dominate the battlefield through brute force.
However, in MOM, that kind of dominance can have a new type of payoff: battle cards. Red, in particular, has some great ones at lower mana costs, allowing you to play one in the midgame and attack it immediately while still holding up Arachnoid Adaptation or Coming In Hot to crush any attempted blocks.
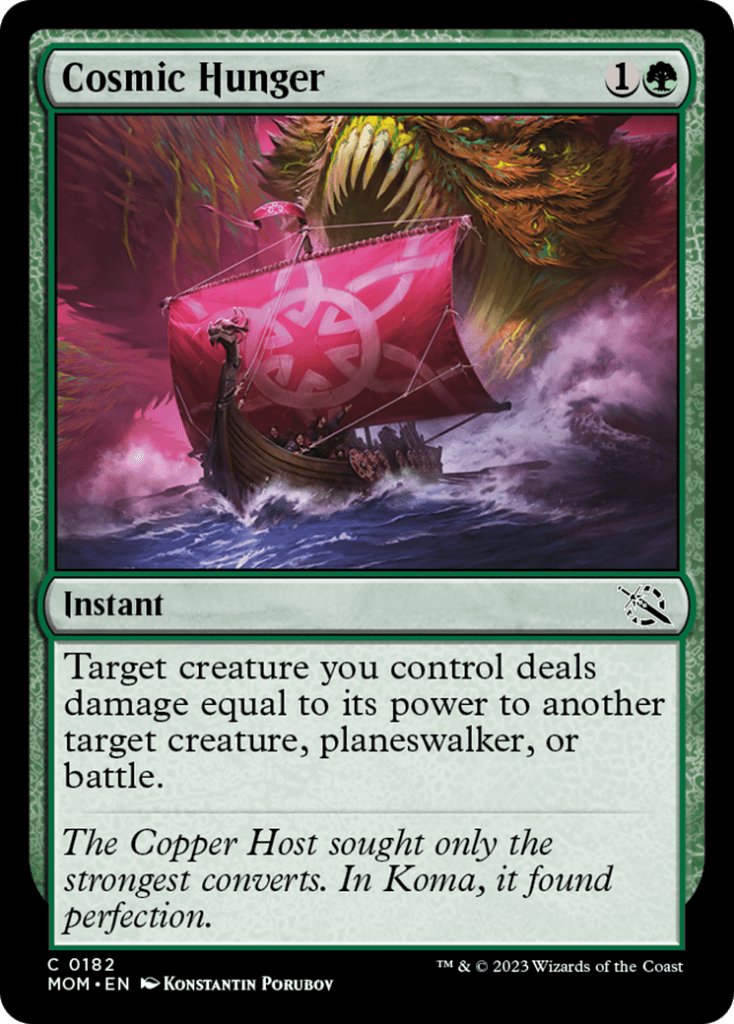
Or, you can just use Cosmic Hunger and red burn spells to win your battles without expending a single combat step. With most of those battles flipping into even more powerful creatures, your momentum will quickly spiral out of control.
CHEAT SHEET: TOP 5 COMMONS/UNCOMMONS IN EACH COLOR
Ratings prioritize high performance across all possible archetypes of that color.
White
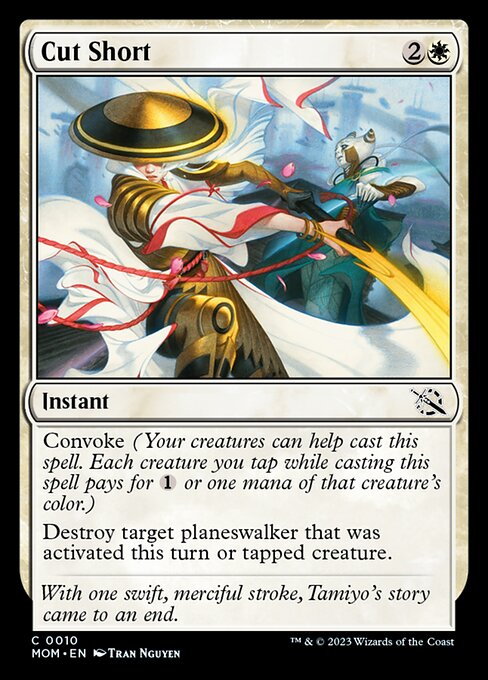
Seal from Existence, Phyrexian Censor, Cut Short, Kor Halberd, Alabaster Host Intercessor
Blue
Xerex Strobe-Knight, Ephara’s Dispersal, Captive Weird, Meeting of Minds, Assimilate Essence
Black
Deadly Derision, Blightreaper Thallid, Final Flourish, Gloomfang Mauler, Aetherblade Agent
Red
Khenra Spellspear, Volcanic Spite, Stoke the Flames, Ral’s Reinforcements, War-Trained Slasher
Green
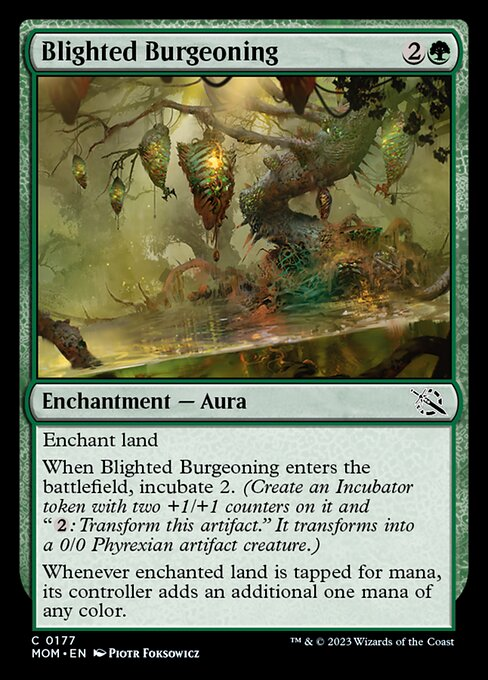
Timberland Ancient, Herbology Instructor, War Historian, Arachnoid Adaptation, Blighted Burgeoning
Artifacts
Skittering Surveyor, Halo Hopper, Urn of Godfire (don’t pick the other three).
NO RAGE AGAINST THIS MACHINE
There’s still so much more I could say about March of the Machine Draft (and might yet in the coming weeks). Minutiae of many tiny, niche interactions. Speculation on the different paths to constructing each archetype. Dialogue with myself over whether I’ve actually underrated red and white this whole time. All of this energy and inquiry after just a few days of play makes me think we have a great, long-lived draft format ahead of us.
From what I’ve seen of reactions online, that’s a pretty common opinion among other entrenched Limited players who’ve tried it out. But despite the rather complicated set mechanics, I don’t think this format is in any way out-of-reach for beginner drafters!
I hope, at least, this guide inspires plenty of people to check out March of the Machine and savor some great gameplay before it — like Phyrexia — finally fades into Magic history.

Tom’s fate was sealed in 7th grade when his friend lent him a pile of commons to play Magic. He quickly picked up Boros and Orzhov decks in Ravnica block and has remained a staunch white magician ever since. A fan of all Constructed formats, he enjoys studying the history of the tournament meta. He specializes in midrange decks, especially Death & Taxes and Martyr Proc. One day, he swears he will win an MCQ with Evershrike. Ask him how at @AWanderingBard, or watch him stream Magic at twitch.tv/TheWanderingBard.