

Tom dives deep into the Streets of New Capenna, and gives us an archetype guide for this oddly deceptive Limited environment!
Streets of New Capenna is the latest set in what has become quite the golden age of Limited Magic. Appropriately enough, the aesthetic for this new world is glamorous art deco; a stylish if lawless city populated by demonic gangsters and the five powerful crime families which control them.
With the announcement of a set themed around tri-color factions, many of us were prepared to go in greedy and draft five-color decks off the back of premium fixing. But for a city stuffed full of criminal devils, New Capenna certainly has a way of keeping you honest…
THE RICH GET RICHER
The most important trait of the set is that its mechanics play very awkwardly when you’re behind on board – usually they ask you to sacrifice creatures (or mana you could spend on creatures) for either temporary or delayed benefit. Even the mechanics which would seem to encourage playing for board control often need you to give up tempo for maximum payoff.
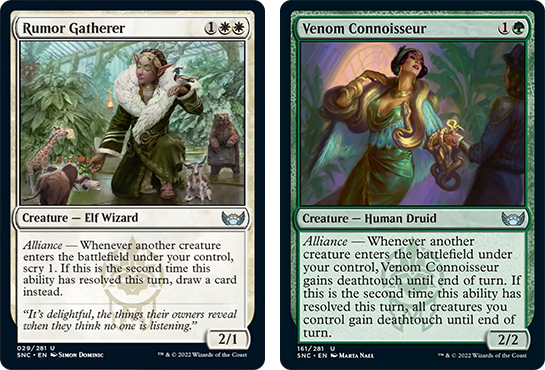
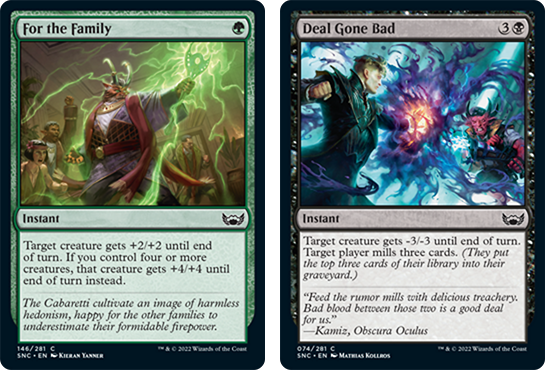
For instance, some alliance cards want you to hold off on playing the creature you just drew until you draw another and can play both in the same turn. There are a ton of these conditional synergies in the set which get worse when you’re forced to play them right now instead of waiting for the perfect moment. Equally definitive is the gap in power between SNC’s combat tricks – cheap, powerful and common – and its removal, which tends to only be one of those three things.
So, if the mechanics encourage us to get ahead on board and not look back, what are the most important cards in SNC Draft? Two-drops! Their priority rises even further once you realize how tricky it is to find decent blockers you’ll be able to throw out turn two on the draw. Most of the good statlines are two-color two drops, which are hard to curve into even with fixing.

The end result is a set where keeping up with the furious pace of play all but demands you draft a two-color deck. Do not treat this like a greedy multicolor set just because there’s a lot of treasure and fixing! The “sac and fetch” family-lands are more a tool to ensure you can cast your gold two-drops on time every time than they are an enabler for five-color goodstuff.

Similarly, the cycle of land-enhancing common creatures turn out to be more like expensive hybrid mana bombs which play in two-color decks. Rather than an excuse to draft more colors, they give you more reason to prioritize in-color two-drops by filling in the top of your curve.
It’s important to note that these creatures – and most of the other fixing – cannot help you cast those gold two-drops on turn two. This isn’t always the kind of thing which will cost you games, but it’s a tempo loss you will definitely feel if you lean too much on them instead of taking the multicolor lands.
‘COS TWO OUT OF THREE (COLORS) AIN’T BAD
Wizards learned something from the design of Strixhaven, and so New Capenna doesn’t demand you lock into a two-color pair from your first few picks. Instead, I recommend aiming for “two and a half” colors: a deck which aligns with one of the supported three-color combinations, but primarily plays just two of those colors while splashing the third.
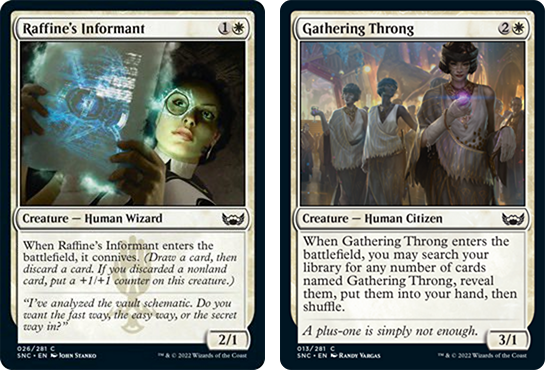
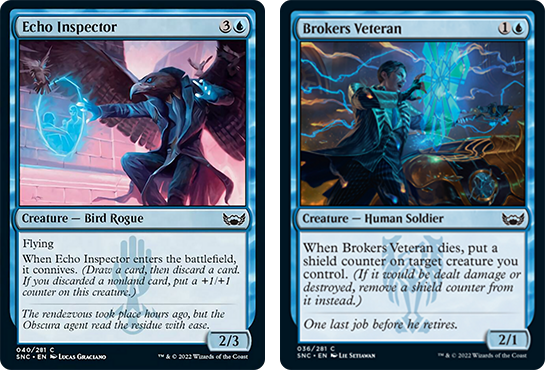
So if you start out with a couple of strong picks in Brokers colors (green-blue-white), see if you can bias your picks towards any two of those – say, white and blue. This is especially important to do with your low-cost creatures and spells. Consistently taking Raffine’s Informant and Brokers Veteran over Civil Servant and Venom Connoisseur lets you heavily favor Plains and Islands in your mana base and gives you the best chance of casting spells on curve.
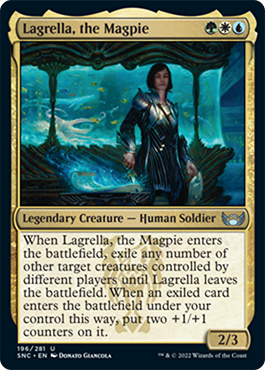
You can (and should) still consider green cards to be in-color for your draft, but focus on those which are powerful even when played later in the game. Having leeway to pick up Lagrella, the Magpie or Bouncer’s Beatdown will give you superior card quality to a straightforward UW deck, but at minimal cost to consistency.
The choice of which two colors to focus on and which to splash depends on what you’re seeing in pack one. Which colors are offering you the most solid two-drops? Have you been taking any gold two-drops, or strong double-pip cards like Murder? Is your fixing coming primarily from cards of one color – like green treasure-makers?
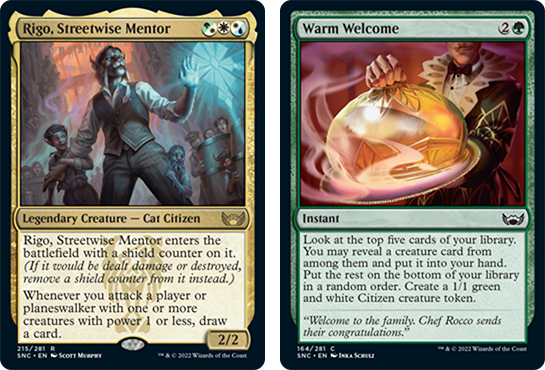
Leaning into these mana requirements as the draft continues is the most important step towards a consistent deck, but there can be other reasons behind your color choice. If your best cards focus on a particular line of synergy, you can try to prioritize the colors within your family which support it. A Brokers deck with a lot of “counters matter” cards and Falco Spara, Pactweaver should aim to be white-blue, where it shares connive and shield counter creatures with Obscura. But one starting with Rigo, Streetwise Mentor and Darling of the Masses will find more token creation and Citizen synergy by leaning green-white.
There is still room to be flexible during pack two and three, of course! Probably one in four drafts I’ll switch which of my family’s colors I’m splashing based on a rush of great picks late in the piece; roughly one in seven of my drafts have seen me fully flip which family I’m drafting during pack two. Aiming for two-and-a-half colors is actually more flexible than committing fully to three. If you start UW-splash-green, but find yourself looking at all black cards, pivoting to Obscura is much more viable than if you had a ton of green two-drops propping up your deck!
I would still strongly recommend these pivots keep to the two-and-a-half color structure, and within the color combination of a specific family. From what I’ve seen, only one in ten drafts (at most!) will offer the kind of raw card quality and fixing to support a “wedge” color combination like red-white-black or blue-black-green; the same goes for four- and five-color decks. You’ll probably know when you’ve found one!
HEARD THE NEWS ABOUT CAPENNA?
The rest of this guide will be a top-down explainer on different color combinations in SNC Limited, and what to look for when drafting them.
While the format is built around the tri-color crime families and they each have powerful rare and uncommon cards specific to them, the lines of mechanical synergy run through each of the five allied color pairs instead. These two-color pairs are the true archetypes of the set; while there is a difference between an UWb flyers deck and a UWg flyers deck, it’s mostly in what bombs and removal you’re playing around while you try to shoot down their angels!
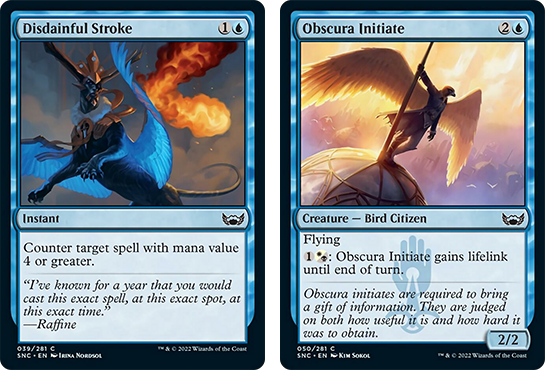
UW: Tempo Flyers
This color pair gets to cast a ton of good flyers off three or four lands. This includes the clear #1 common in each color, as well as their common gold creature.
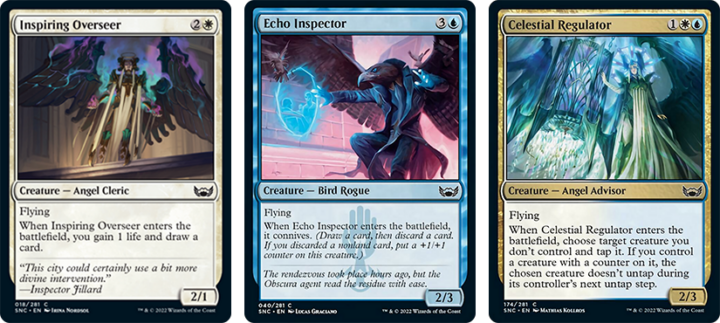
Being hard to block makes it easy to force a fast, aggressive pace once your first flyers stick. The “Frost Lynx” trigger of Celestial Regulator is a great example of how we can be sure of winning that race – backed up by removal and combat tricks, of course. Two of white’s three removal spells hit attacking creatures, and blue’s countermagic and bounce spells both work best when the opponent feels pressured to play into them, so – as with most SNC decks – you want to always be turning your creatures sideways.
Of course, you can leave a few small chumps back on the ground to block – a lot of the good commons here either power up your flyers with counters, or provide multiple chump blocks off one card to buy more time.
Counters (of any sort) are definitely a noticeable subtheme of UW, with Celestial Regulator the most obvious payoff. Simply drafting good UW cards should give you enough enablers for your payoffs; otherwise you can look for backups like Boon of Safety or Psionic Snoop in pack three.
The Brokers version of this deck uses equipment, counters, and great combat tricks to make your flyers bigger than theirs, and holds down the ground better with its mix of tokens and huge green guys.

The Obscura version gets better removal, draws more cards to find it, and can potentially play a longer game gaining power from the blue-black mechanic we’re about to discuss…
UB: Card-Filtering Control
This set’s graveyard mechanic, appearing in blue-black, isn’t about actually re-using the cards in your graveyard. Instead, the goal is to get cards with five different mana values in there – whether they were played, discarded, or milled over doesn’t matter. So long as this (confusingly un-named) threshold is met, a lot of our cards become significantly more powerful.
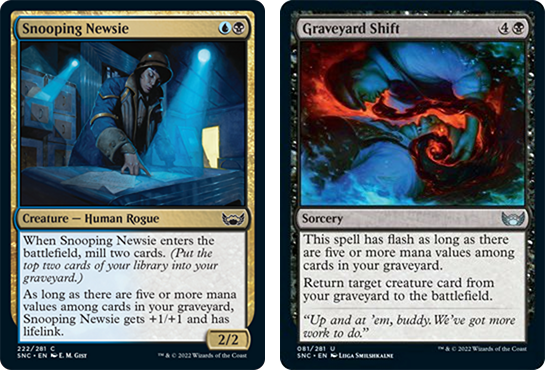
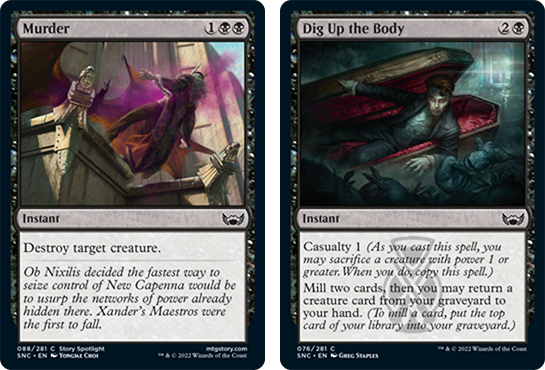
While there are plenty of tools here to help speed up the process, the best way to reach five mana values in graveyard is just drafting a well-balanced curve (plus the self-sacrificing lands) and aiming for longer games. UB might be this set’s control archetype, but there’s not enough good removal for us to skip those all-important two-drops! Having blockers which trade well both on the ground and in the air will let you save Murder for when they play a bomb rare, or to blow them out for trying a combat trick.
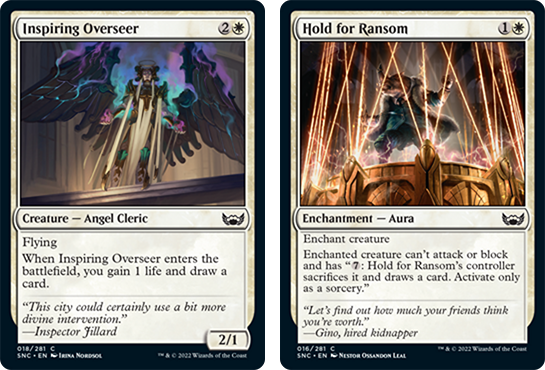
This reliance on good stats is why you’ll often value discarding a spell for your connive creatures, and why those are usually your best creature options besides the graveyard payoffs. Access to true card advantage in this set is limited, which makes Dig Up the Body incredible. Sacrificing Inspiring Overseer or Corpse Appraiser to copy Dig Up after blocks (getting back that creature plus something else) is a game-winning play.
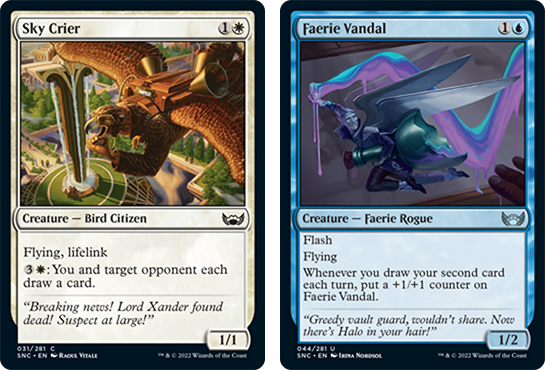
The Obscura version of this deck can play more to the board, as most of its creatures can connive to help us fill the yard without needing other spells. Its flyers provide consistent chip damage whenever opposing pressure lapses. You can even mill out draw-happy opponents with help from Sky Crier!

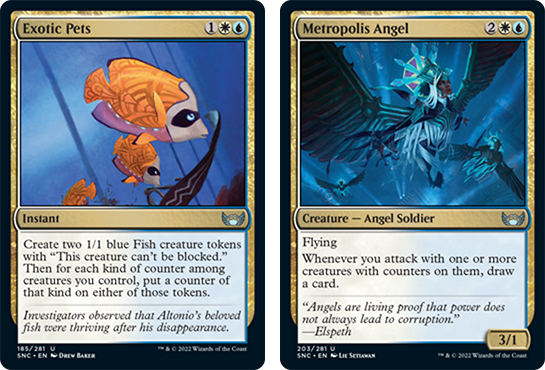
The Maestros version can over-draft cheap creatures, since any that aren’t chump blocking can be sacrificed for value (and sometimes, even those which are!) Even with a stalemate on board, you can grind down your opponent with blitz attackers, flyers, unblockable fish tokens, and direct damage.
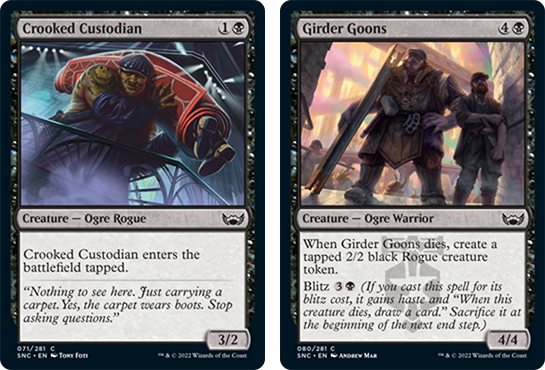
RB: Sacrifice Synergy
RBx is what Magic old-timers like myself call an “Aristocrats” strategy; you play lots of small creatures, attack with them often, and sacrifice anything which looks like it’s about to trade badly to get more value.
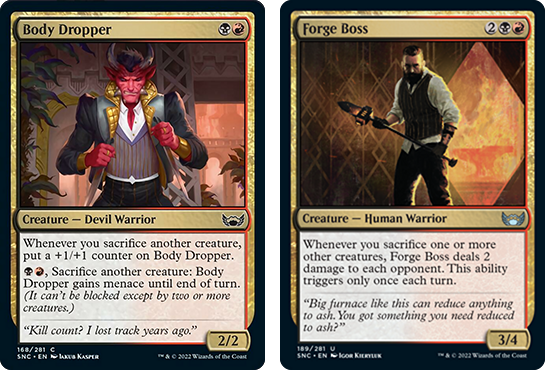
Body Dropper is the kind of card which can be mediocre in some Limited environments, but is absolutely bananas good here with mechanics like casualty and blitz. Normally I’d suggest waiting on these multicolor commons in pack one until you feel established, but aggressively taking every Body Dropper and Forge Boss you see is a risk which at least promises commensurate payoff.
You’re an aggressive deck which needs to punch through at least 10-12 damage on the ground (depending on how many Forge Bosses you have) so if you can’t max out on Body Droppers you need other cheap attackers to compensate. You also need to ensure your sacrifice effects are ones which help rather than hinder aggression. The good casualty cards here are Join the Maestros, Grisly Sigil and Light ‘Em Up, with room for Dig Up the Body somewhere. Otherwise, look to take as many blitz creatures as possible – their inherent flexibility as creatures is much preferred.
The Maestros version of this deck is where Make Disappear and Rooftop Nuisance get their day in the sun as huge tempo plays which also buff Body Dropper. Having evasive blue creatures helps you reliably finish off games even if the Body Dropper pain train stalls out.

The Riveteer version is full pedal-to-the-floor creature beatdown, combining combat tricks, burn, haste and “can’t block” effects. Ideally, you’re swinging every single turn while holding up mana; if they block you can unleash an insane suite of pump spells, if they don’t you get to play another creature postcombat, or do something slightly downtempo like Dig Up the Body. Blitzing in attackers is strong, but try to save it for when you’ll still have mana left over, or when the opponent is tapped out.
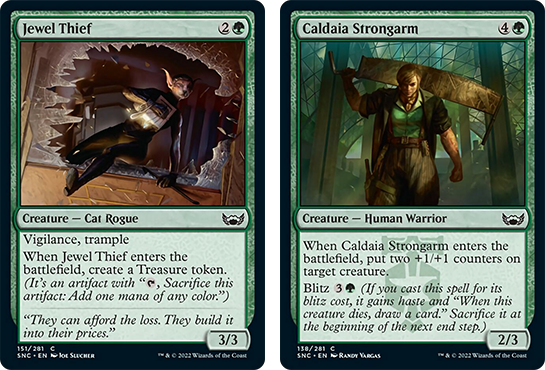
RG: Treasure Value
This color combination has a set of cards which create treasure tokens, and a separate set of cards which reward you for having treasure tokens. Of course, Treasure can be quite rewarding all by itself, which is probably why focusing on the setup/payoff dynamic here is a bit of a trap.
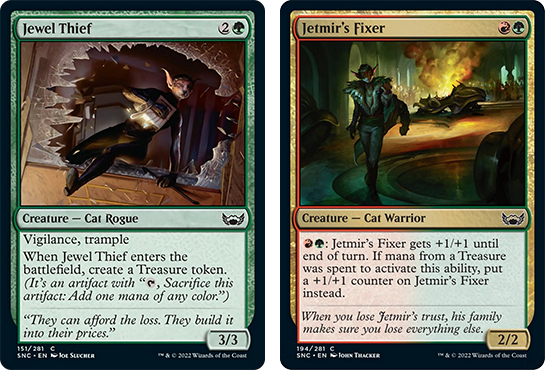
The important thing to keep in mind is again that this set plays incredibly fast and brutal, so you can’t really gameplan too hard around tempo-negative spells like Big Score. Instead, we define ourselves by Jewel Thief and Jetmir’s Fixer; solid combat creatures which provide treasure as a bonus, and consume it as an optional extra.
Thanks to the super-powerful combat tricks in this set, it’s risky to attack when your opponent has more mana available, even if you have bigger creatures. So much like RG werewolves in Crimson Vow, you either need to draft a bunch of your own tricks and fight spells (again, RG has the best ones) or you need to have a good resource engine to gradually build a lead while your big creatures stonewall the opponent. Treasure is very useful in either case – giving you mana to outspend your opponent on a crucial combat turn, or helping you splash bomb rares and fuel cards like Stimulus Package when you’re on the grindy plan.

The Cabaretti version of the deck is usually more aggressive – as with the UWx deck, your white removal will perform much better when both players are swinging for the fences. It’s less reliant on temporary tricks, instead going wider and playing team pump effects, or relying on lifelink, equipment and shield counters to guarantee favorable combats.
The Riveteer version of the deck has more reliable (if more expensive) removal, and more creatures which actively grow over time. The differences from other Riveteer decks is minimal, but having more treasure can both pay for more mid-combat shenanigans and occasionally empower cards like Pyre-Sledge Arsonist well beyond expectations.
GW: Citizen Tribal
We go from the most subtle two-color theme to the most obvious, with GW offering the only real build-around creature type of the set. There are a ton of Citizens in these colors (and a few elsewhere), but what’s really nice is that you’re not forced into only playing Citizens. As with the counters synergy in UW, just try to take good cards here and on average, you’ll have enough Citizens to make the payoffs count.
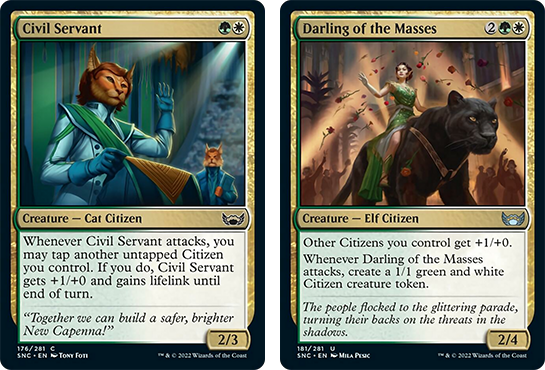
For instance, some key early creatures here are Brokers Initiate, Civil Servant, Citizen’s Crowbar, Backup Agent, Sky Crier and Gathering Throng. That’s pretty close to a list of white’s best commons in general! Green has fewer actual Citizens but does have some non-specific go-wide payoffs, like Elegant Entourage, Take to the Streets and Venom Connoisseur. Green’s combat tricks are just as great here as anywhere else in the set – and Luxurious Libation even generates a Citizen token.
Unlike the RB deck, you usually can’t afford to risk attacking into bad trades; instead, keep your small Citizens back to block and send the bigger ones like Civil Servant in with all the buffs and equipment you can muster. GW is the most equipment-focused deck of all (and gets an extra good one in Citizen’s Crowbar) because of how beneficial it is to suit up one token after another and trade them off for “real” creatures.

The Brokers version of this deck leans into that more conservative approach, knowing that its flyers and unblockable creatures will always be able to push damage so long as Citizens stall the ground. Slowing the game down gives both these evasive creatures and some of the clunkier card advantage options time to shine.
The Cabaretti version, by contrast, is much more able to take risks thanks to excellent instant-speed plays like Cabaretti Charm and Antagonize. Use your tricks and fight spells to preserve the Citizens which get blocked, or to force through lethal on whichever ones do not!
WHERE THE STREETS HAVE NO CHILL
And that’s the fundamentals of Draft in Streets of New Capenna! I definitely had some wildly wrong expectations coming into this set, and if you’re like me the learning curve of the Streets might be harsh indeed.
But taken on its own terms, this is a unique and exciting Limited environment with a lot of the same deck building flexibility which was praised in Kamigawa: Neon Dynasty. Just make sure to prioritize those two-drops and put an Embercleave in every deck you draft, and you’ll be running these Streets in no time! Enjoy this cheat-sheet gallery of each color’s generically best commons, and I’ll see you again next Draft set.


Tom’s fate was sealed in 7th grade when his friend lent him a pile of commons to play Magic. He quickly picked up Boros and Orzhov decks in Ravnica block and has remained a staunch white magician ever since. A fan of all Constructed formats, he enjoys studying the history of the tournament meta. He specializes in midrange decks, especially Death & Taxes and Martyr Proc. One day, he swears he will win an MCQ with Evershrike. Ask him how at @AWanderingBard, or watch him stream Magic at twitch.tv/TheWanderingBard.