
Duskmourn: House of Horror represents a departure from previous Magic design in many ways, setting new expectations for lore, aesthetics, mechanics, and color pie divisions. So of course, the Limited environment you’ll find within the shifting walls of this insidious House is just as strange and daunting as everything else about it!
It would be all too easy to stumble deliriously through your early Draft games, lose your glimmer and end up a plaything of cruel Valgavoth. But fear not – those survivors who have gone before you have compiled this guide to help you navigate the haunted halls.
Read closely, and you’ll last long enough to pass on your wisdom to the next hapless soul ensnared by the House – and hopefully snag a few Draft trophies along the way…
SHAPE OF THE FORMAT
In the big picture Duskmourn is a slower set, driven by a few broad synergies which can be found to varying degrees in every deck. This rewards having a good understanding of the ways different cards can play off each other, and drafting flexibly around the strongest cards you can find. I’d broadly compare the gameplay to Kamigawa: Neon Dynasty or Theros: Beyond Death, or more recently Lost Caverns of Ixalan.
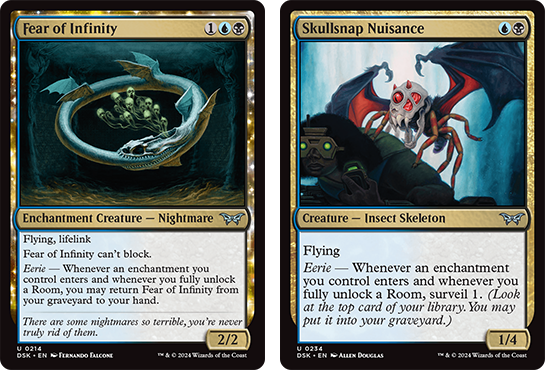
It is both a graveyard set and an enchantments-matter set, with Delirium making a return and the new Eerie mechanic standing in for Constellation. Clever card design has ensured that those two themes overlap and play well together – many of the enchantments help you fill or utilize the graveyard, while binning an enchantment creature will get you halfway to Delirium in one card.
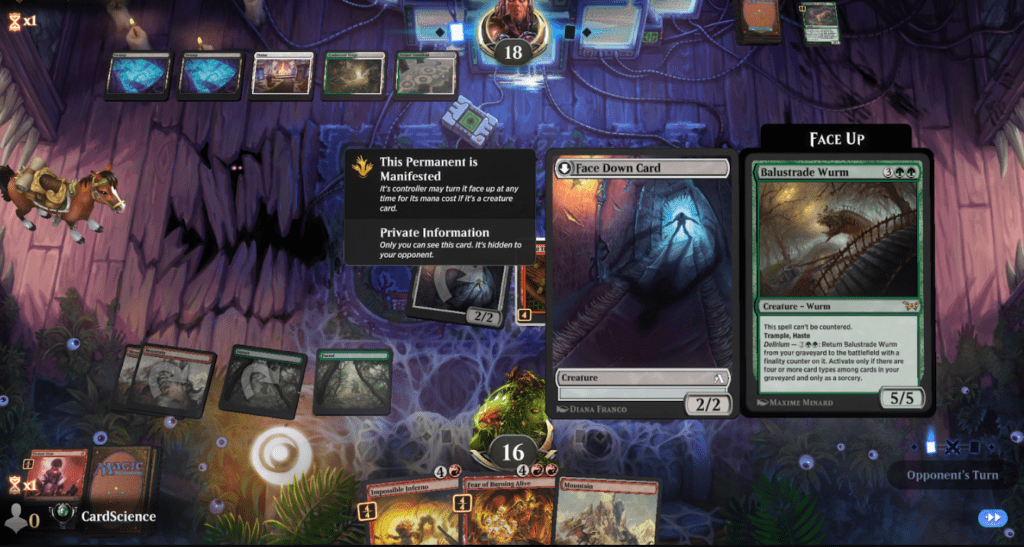
The other new mechanics also have built-in synergy with these themes. For instance, Manifest Dread triggers help enchantment-heavy decks maintain a board presence, while also letting you selectively mill cards into your graveyard which will raise your Delirium count.
It all contributes to an environment where your drafts aren’t defined by strict two-color themes. Instead, decks will often ebb and flow around whatever powerful cards end up in your pool, borrowing and combining elements from multiple “archetypes” to maximize their potential.

This does mean that the more consistent, castable rares are very high-impact, especially if drawn early in the game when opponents may not have removal ready. But the relatively low number of “junk rares” in Duskmourn does mean that most drafts will have their share of bombs, so there end up being more shootouts than one-sided executions.
One of the more interesting tensions in Duskmourn Draft is the nature of the removal. As a whole, it’s not historically good or bad, but it is very deliberate in how it’s distributed across each color.
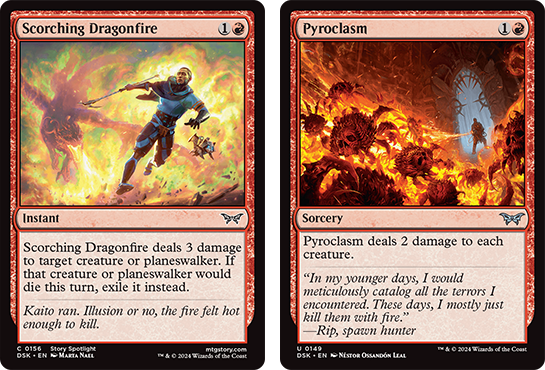
Black and white get unconditional kill spells but lack mana-efficient choices, especially for small targets. Red has a much better time picking off small fry with Scorching Dragonfire and Pyroclasm, but its choices for big threats are awkward or expensive. Only blue can reliably and efficiently nullify large threats, with its aura-based removal having the additional benefit of preventing reanimation – since the creature doesn’t actually die.
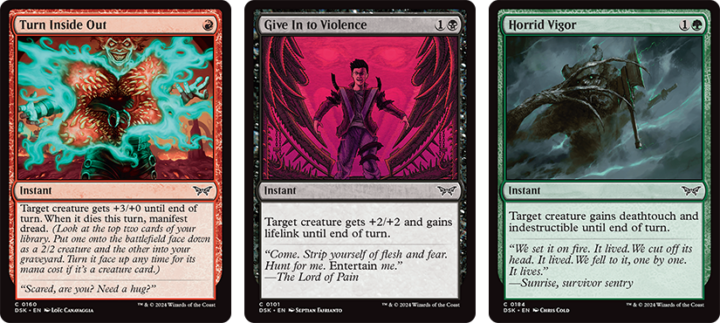
For other colors, especially when trying to play a faster game, the void is being filled by powerful combat tricks: Jump Scare, Violent Urge, Turn Inside Out, Give In to Violence and Horrid Vigor are all impressive for winning crucial trades when mana is tight, and all offer other utility besides. Make sure not to sleep on them!
THEME AND ARCHETYPE BREAKDOWNS
As I explained in the last section, Duskmourn blurs the lines between different archetypes and synergies very freely. Consider the comparison to last set: in Bloomburrow draft, taking Bonecache Overseer in a Lizard-centric black deck was often a poor move unless you could secure some additional food cards to enable it. In Duskmourn, very few of the powerful uncommons will “miss” regardless of whether you were trying to draft around them, so the following two-color archetypes are meant more as a start point than as scripture.
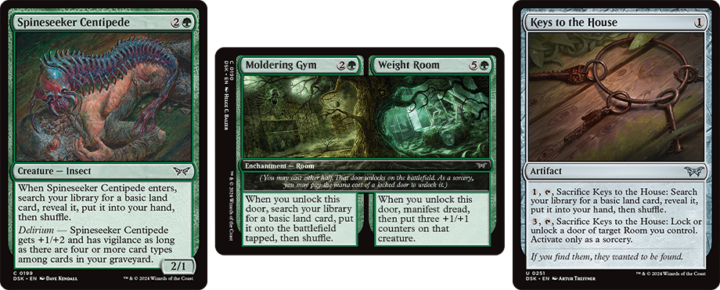
The real limiting factor on “rainbow good stuff” drafts will be the amount of color fixing you can find. Landcycling creatures and Terramorphic Expanse are both even higher priority than usual, due to their synergy with Delirium; same goes for Keys to the House. As such, splash-happy drafters should return to their comfort zone of Gx decks, where Spineseeker Centipede, Moldering Gym and various uncommons can make color-fixing more reliable.
White-Blue: Enchantment Aggro
Early consensus seems to be that white is once again the strongest color in Duskmourn Limited. If that’s true, then it’s all down to its excellent early curve of creatures, backed up by efficient pump effects which also help you turn on various synergies.

If you’re surprised that white-blue is the pairing to most aggressively push that advantage, remember that Unable to Scream and Stay Hidden, Stay Silent are far and away this set’s most effective cheap removal, and that both UW uncommons are two-drop creatures that accelerate your board development.
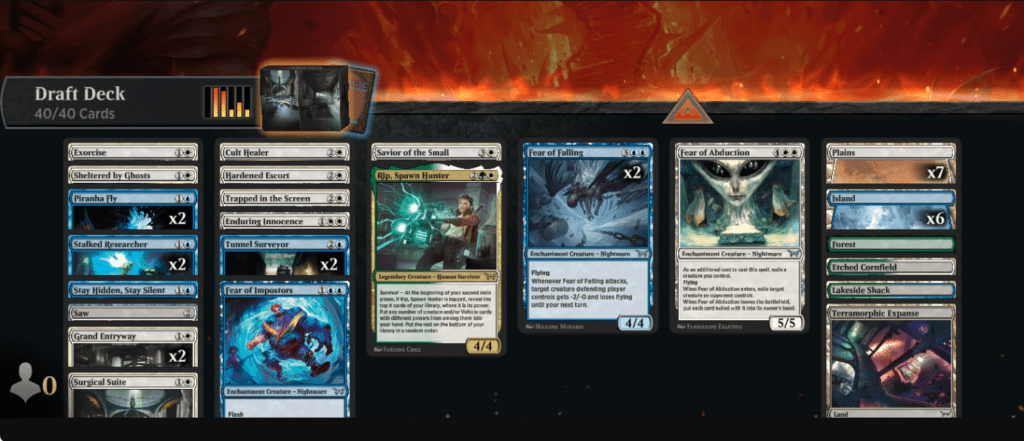
White-heavy versions of the deck will use Eerie triggers to squeeze extra juice from the good cards white decks are already playing: the rooms, the auras, Glimmer Seeker and Trapped in the Screen. Base-blue versions can apply those counters and auras to Piranha Fly, Erratic Apparition and Fear of Isolation to put a fast clock in the air, then hold up counterspells like Don’t Make a Sound to stop anything which might help opponents win the race.
White-Black: Reanimator
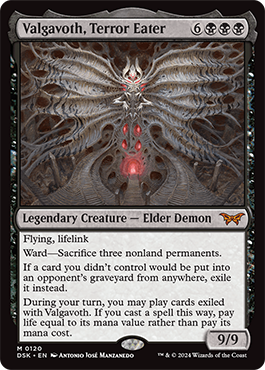
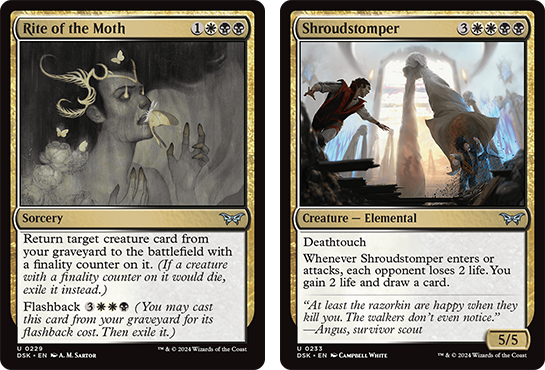
The gold uncommons make it clear what we’re trying to do here: one is a reanimation spell, the other a powerful reanimation target. Additional reanimation effects are available in Valgavoth’s Faithful and Surgical Suite – even at common with Emerge from the Cocoon!
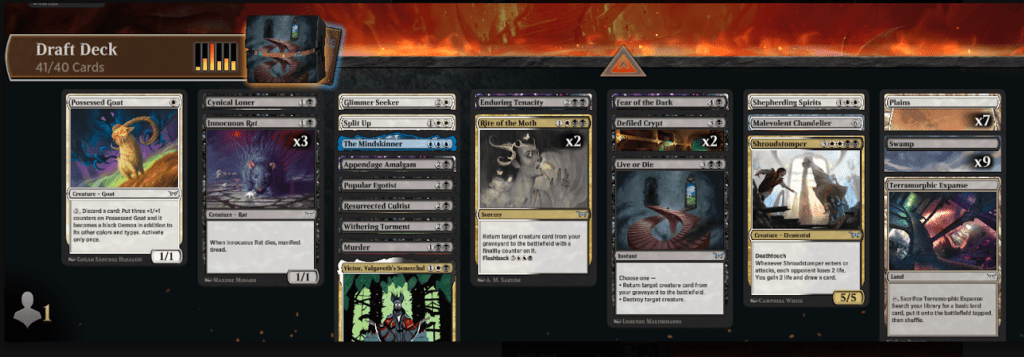
This depth of choice makes Duskmourn the rare Draft format where dedicated Reanimator is a consistent strategy. And considering the meager aggro potential of black this set, you’re better off playing it that way – maxing out on removal and using early creatures like Possessed Goat, Innocuous Rat and Splitskin Doll as ways to get bigger creatures into your bin. You need to keep up on board enough that the first reanimation target catching Murder won’t sink you – one card that helps a lot is Defiled Crypt, an extremely powerful (and thus far, underdrafted) source of extra bodies to help you go over the top.
Redundancy for the “large creature” half of the combo is almost guaranteed thanks to the common landcyclers, but there are even stronger candidates in uncommons like Fear of Abduction and Vile Mutilator – not to mention any rare bombs you can pull. I’m sure I’ve seen more copies of The Mindskinner in WB decks than actual blue ones at this point – it’s often a later pick, mana value three means even Surgical Suite can bring it back, and it demands immediate answers every time.
White-Red: Toy “Aggro”
I’m using air quotes around “aggro” here because, while it is possible to win games by just curving out and removing a few blockers, I don’t think that’s the full story of how this deck is designed to work. The easiest way to prove it is to compare RW cards against a deck like RG delirium. RG gets to play a one-mana 3/3, a two-mana 4/3 haste trample, and a two-mana 4/2 menace. Meanwhile your toys, being restricted to two power or less, are forced to rely on buffs and combat tricks to even threaten trades against midgame blockers.
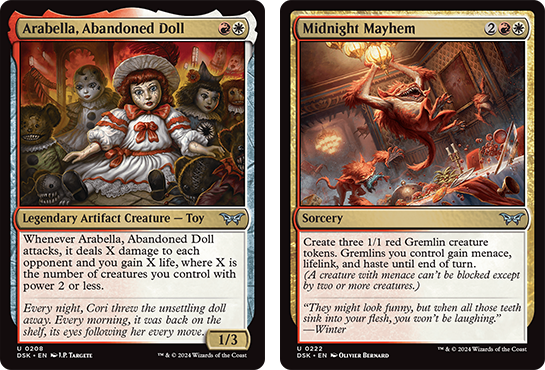
Looking more closely at our gold uncommons, both of them get the most value when you sit back and build up an army of little guys instead of trading them off for small chunks of damage. Cards like Ragged Playmate, Hardened Escort, Razorkin Hordecaller and Most Valuable Slayer want you to buff up one little guy at a time and send them in for a guaranteed big hit (or trade-up). If you can’t get Arabella herself to do the attacking, creatures like Infernal Phantom, Vicious Clown, Veteran Survivor and Patched Plaything all lend themselves well to the role.
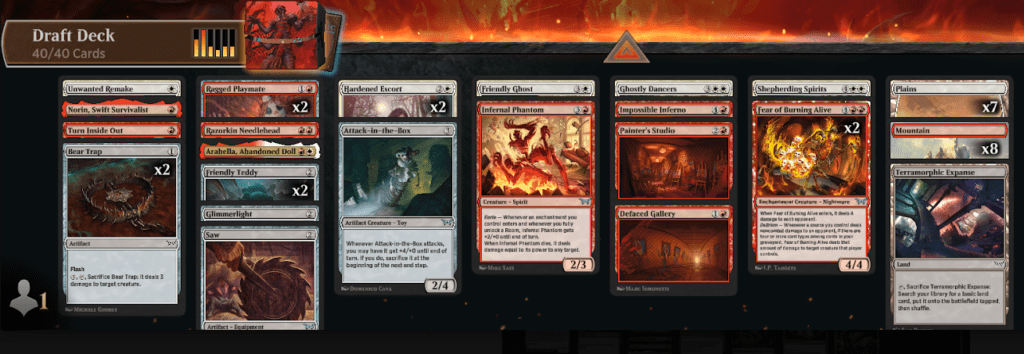
Or you can just wait until you find Lionheart Glimmer or Defaced Gallery and let rip with a classic all-in attack. Just make sure you pick your spots, and don’t throw away your toys too carelessly…
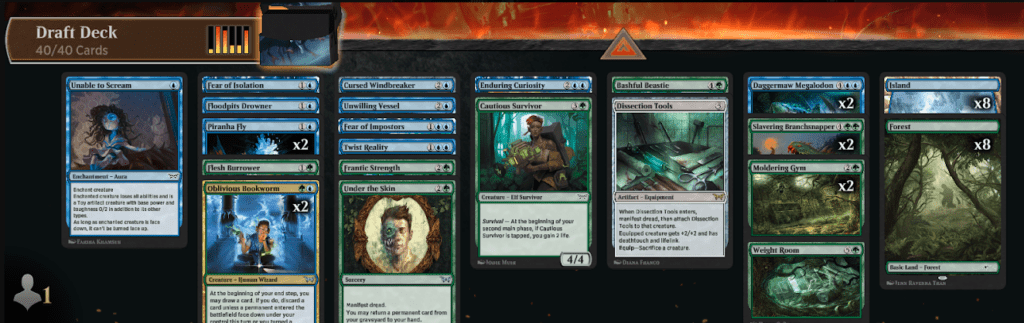
White-Green: Survival Tempo
One of the many things I find charming about this Draft environment is how it flips some of the usual color-theme expectations. In this case it’s the UW deck that goes wide with Glimmer tokens, while the GW archetype plays a tempo game: snowballing value by protecting an early attacker.
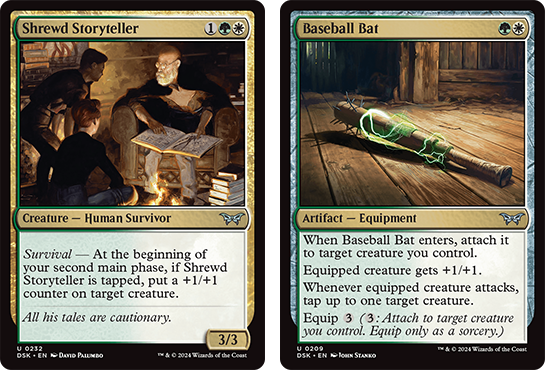
Survival is one of the few mechanics in Duskmourn which actually can flop if you don’t draft the right support. But in contrast to recent mechanics like suspected or disguise which were dependent on a handful of specific cards, Survival gives you a lot of room to get creative in how you turn it on. Anything that helps your attackers win or avoid trades will do the job here: combat tricks, removal for blockers, or buffing them with hard-to-block keywords. You can even get creative with “tap an untapped creature” costs, crewing vehicles, or flipping Manifested creatures face-up after blockers are declared.
Not all the rewards triggered by Survival are as obviously game-winning as Defiant Survivor or Kona, Rescue Beastie. But it’s hard to lose when you’re getting paid a bonus for aggressively front-running and pushing for fast kills.
Blue-Black: Eerie Control
Almost all blue decks end up enchantment-focused, so with black’s early-game struggles this ends up being a classic UB control archetype. Blue’s cheap interaction perfectly plugs up the gaps in the black removal suite, giving you plenty of time to set up your wincon of choice. You can wear targets down gradually with small flyers and Balemurk Leech triggers, stall until big threats like Fear of Falling and Miasma Demon become castable, or steal a bit of WB’s reanimator package to accelerate the process

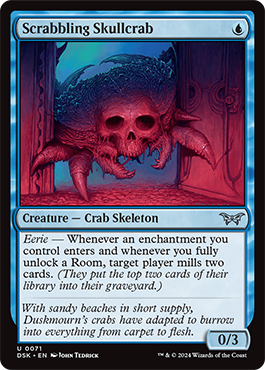
Black’s own recursion can help you grind out the card advantage game, making up for the slight lack of card draw in blue this set. Or, if you have the bloody-minded patience for it, you can try and win by deck out. This set has a lot of self-mill and Manifest Dread effects that lead to players emptying out their libraries, so with a couple of well-timed Scrabbling Skullcrab your huge stack of removal spells might be all you need to earn a W.
I’d recommend playing a few extra cards and/or Malevolent Chandelier in that case, to ensure you can use your own draw and surveil effects without falling “behind” on deck size. I don’t think it’s the easiest or most reliable path to wins, but if you’re the kind of monster who likes that stuff, it’s there.
Blue-Red: Rooms Control
Lovers of novel mechanics, tap-out control and noncreature-permanent-led strategies alike: rejoice! Not only does Duskmourn draft support an entire archetype focused on the cool new Room enchantments, it’s genuinely very good!
While rooms appear across all five colors, I don’t think there’s much point playing more than three – and even UR by itself has enough rooms and support to be viable. The rooms in these colors especially are well-designed for Limited; most end up being interactive sorceries with unlockable extra value for when your opponent eventually slows down on presenting threats.
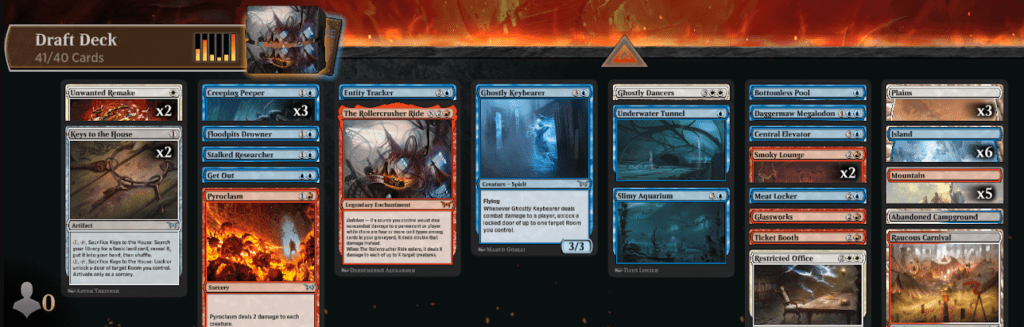
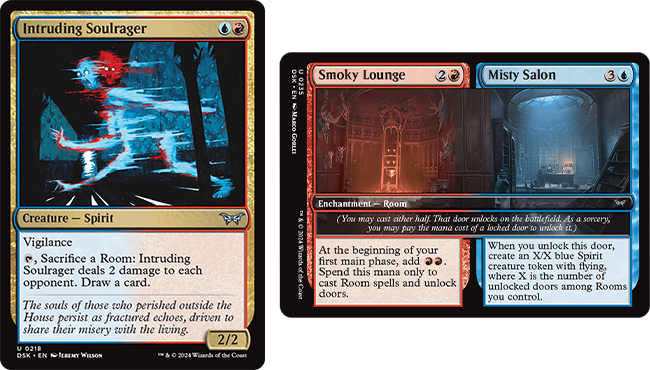
Compared to the dearth of actual draw spells, being able to get two uses out of every card really helps you play a long game, slowly accruing on-board value until you can turn the corner and land a threat – whether that’s the full room meme in Promising Stairs, Intruding Soulrager, or any of the usual suspects I mentioned for UB.
The other key element to a successful rooms deck is the mana. Rooms seem to be slightly overcosted on average, and ideally you still need to be playing a few creatures or removal spells while you go through unlocking your various doors. Anything that lets you cut back on the mana requirement – namely Creeping Peeper, Smoky Lounge and Ghostly Keybearer – should be prioritized.
Blue-Green: Manifest Midrange
In a new spin on classic UG value piles, this time we’re using the Manifest Dread mechanic as the main enabler en route to playing more and bigger spells than the opponent. Green’s early creatures are designed to trade, but at four mana and above they start to bully other colors with raw stats. Blue can do the same thing in the air.
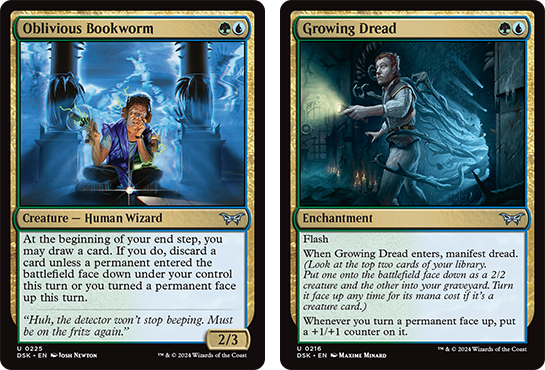
This makes the Manifest Dread effects which add additional counters or buffs especially deadly, as you threaten to flip up unbeatably strong creatures each attack like a giant combat trick. Around this simple but effective core conceit, a lot of UG’s specific support cards provide extra card advantage in reward for Manifesting Dread.
It’s not especially tricky to draft enough Manifest triggers in these colors, but I think it’s more important to make sure you start every game with either a strong curve or ramp. The heavy mana requirement to bluff flipping up in combat, and a lack of potential for blowout plays beyond that, meant this deck really wants to play from in front. Alternatively, you’re in a perfect position to splash a third color or throw in whatever rare bombs you drafted – anything to give the deck a little extra killing power when it counts.
Black-Red: Sacrifice Midrange
I feel like I write out much the same thing for RB every Draft guide: the goal is to aggressively trade resources from hand and board, keeping board sizes small and pace of play slow while you whittle away with hard-to-block creatures and ping effects.
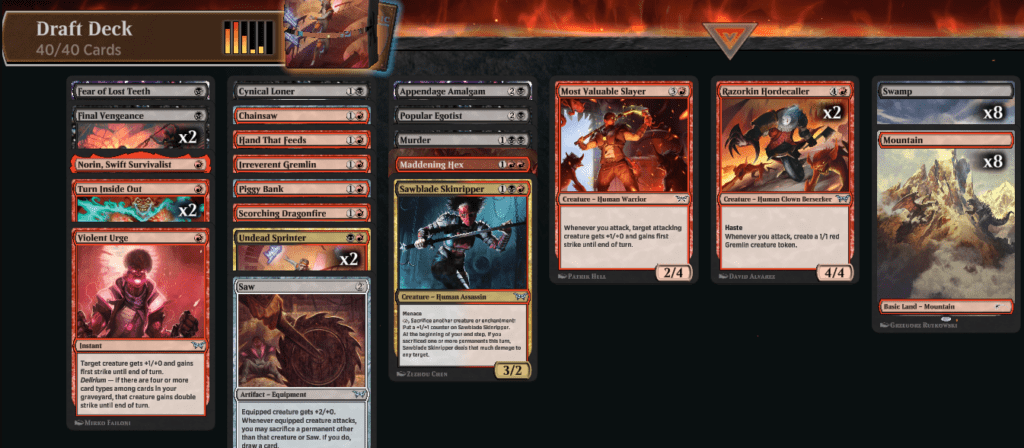
At least it’s a pretty fun way to play, and Duskmourn does manage to make it feel different to say, the Bloomburrow lizards or Thunder Junction outlaws. Wizards have labeled this archetype as “Serial Sacrifice”, and there are indeed a decent number of sacrifice effects to play with here. But they don’t really form any combo-tastic engines as RB Sac does in some draft formats, nor do they tend to support a hyper-aggressive playstyle.

Almost all of them cost mana to activate the sacrifice, and the majority offer card advantage, rather than increased damage, as a reward. The combination of menace, first strike and deathtouch, along with the great removal in RB and this slant towards gradual card advantage, all pushes RB into the kind of patient, attack-when-possible role I described for RW. You can further enhance this midrange potential by splashing green for delirium cards, recursion and fatties; sac outlets will help you quickly fill the yard with different card types.
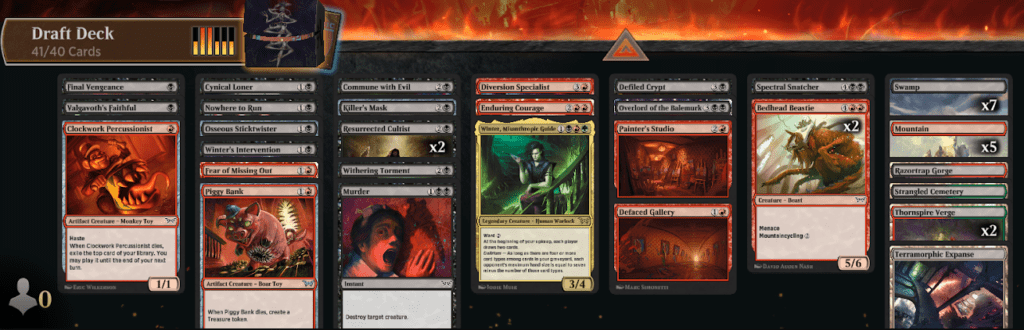
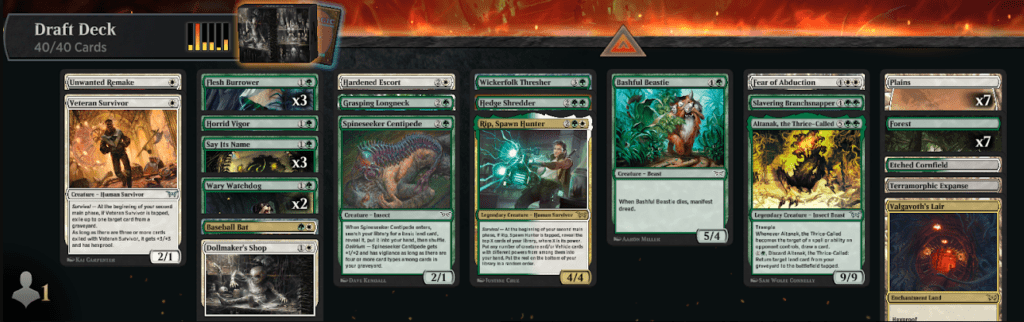
Black-Green: Delirium Midrange
Compared to RB sacrifice, GB Delirium practically drafts and plays itself. The various enchantment and artifact creatures make it relatively simple to include different card types, and GB’s self-mill takes the hard work out of getting them all binned quickly. This leaves you free to focus on building up your mana, playing out a wall of beefy creatures, and then grinding out opponents with value engines like Saw and Defiled Crypt.
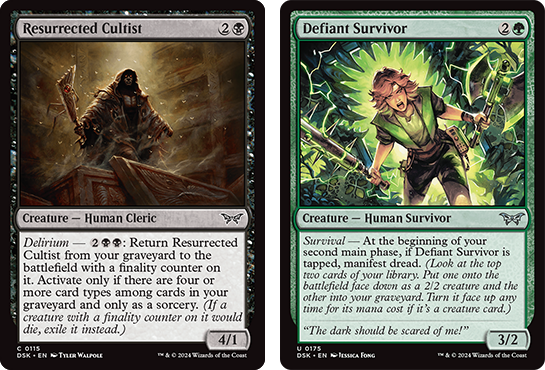
I would recommend going heavier into green than black if you can; not only is it a stronger color, especially in the early game where you’re more likely to be restricted, but it gives you better tools for setting up delirium. Black’s best contributions are its removal spells, enchantments, Defiled Crypt and a bunch of Resurrected Cultists – the card is better than it might appear.
The other reason to base yourself in green is that this deck can really benefit from a third color – both for general card quality and to unlock some bonus synergies. Red adds more delirium and stronger early creatures. White adds reanimation as a much grander payoff for your self-milling. Blue adds Manifest Dread as one of the most economic ways to filter things into the yard without losing board control. Experiment with different options, or just splash all your good rares and trust the mana to work itself out.
Red-Green: Delirium Aggro
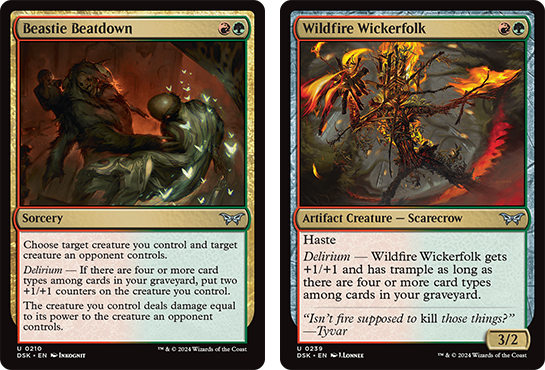
Very similar to the previous deck, the biggest difference between BG and GR is the early game. Red adds Hand That Feeds, Wildfire Wickerfolk, Beastie Beatdown and Violent Urge all as Delirium payoffs under three mana – that’s some serious firepower, and I’m not even mentioning the non-Delirium spells. Thus armed, you can run a lot of decks over quickly with powerful, hasty, and evasive creatures.
What if you can’t run them over quickly? Well, it gets a little bit harder, but you still have stuff to work with: the excellent Fear of Burning Alive can finish a lot of games, as can Violent Urge on a trampling or unblocked attacker. Even Ragged Playmate activations on something like Hand That Feeds will add up surprisingly fast.
Of course, you do have to reach Delirium quickly for all this to work out – and the best way to do that, by far, is Say Its Name. In fact, Say Its Name being a genuinely good card is the main reason it’s so tricky to pull off the dream and summon Altanak – most green drafters are just excited to play a regrowth that enables Delirium. Impossible Inferno, on the other hand, is an extremely mediocre card, and the only one with Delirium I would not be snap taking. It’s just too much mana for too little temp, especially compared to something like Coordinated Clobbering or Monstrous Emergence.
On the other hand, at least this absolves you of the consequences if you end up with only some of the Altanak pieces in your pool; they’re all worthwhile cards to play in their own rights.
THE ONLY HOUSE WHERE DRAFTS ARE A GOOD THING
I didn’t think Duskmourn would be a set to win me over, not with the weirdly un-fantasy aesthetic, one-note new plane, and horror-movie homage designs. And to be fair, those were not really the parts that changed my opinion.
But the Draft format has really felt like something special almost from the jump, and I’ve seen that sentiment echoed by a lot of famous MTG players online since release. Mechanics like Delirium and Manifest Dread leave so much room for nuance, the self-mill improves consistency and card selection, and the careful balance of removal leaves room for both large and small threats to shine.
Most importantly, the flexibility and overlap between different themes gives the drafting phase so much more life – between the different splashes and intra-theme nuances, and cool sub-themes like the Altanak summon or Crab milling, there’s enough material here to keep the Duskmourn franchise going strong for years.
BONUS ROUND – Top Pack 1 Commons for Each Color!
While you’re staying open through Pack 1, these are the cards to look for as your foundation if you can’t see an opportunistic bomb to pick. Thanks for reading to the end of the guide, and I’ll see you next set!
WHITE: Shepherding Spirits, Jump Scare, Trapped in the Screen, Hardened Escort, Possessed Goat
BLUE: Unable to Scream, Piranha Fly, Tunnel Surveyor, Daggermaw Megalodon, Stalked Researcher
BLACK: Murder, Resurrected Cultist, Appendage Amalgam, Final Vengeance, Spectral Snatcher
RED: Turn Inside Out, Scorching Dragonfire, Hand That Feeds, Glassworks // Shattered Yard, Ticket Booth // Tunnel of Hate
GREEN: Monstrous Emergence, Say Its Name, Manifest Dread, Slavering Branchsnapper, Flesh Burrower
OTHER: Terramorphic Expanse, Terramorphic Expanse, Terramorphic Expanse, dual-lands in at least one of your colors, Bear Trap

Tom’s fate was sealed in 7th grade when his friend lent him a pile of commons to play Magic. He quickly picked up Boros and Orzhov decks in Ravnica block and has remained a staunch white magician ever since. A fan of all Constructed formats, he enjoys studying the history of the tournament meta. He specializes in midrange decks, especially Death & Taxes and Martyr Proc. One day, he swears he will win an MCQ with Evershrike. Ask him how at @AWanderingBard, or watch him stream Magic at twitch.tv/TheWanderingBard.