

I always feel an added sense of mystery and adventure when I draft a Universes Beyond set. In order to faithfully adapt the source material, these formats often make fundamental changes to how booster packs are constructed, the size of the card pool, or other factors that lead to a weird and warped Limited experience.
But in The Hobbit, I am thrilled to discover a Universes Beyond set that feels like classic Draft gameplay. At the same time, it still delivers on the premise of its title. You see the characters, places and events of the beloved Tolkien novel realized flavorfully in both the individual cards, and the decks you draft.
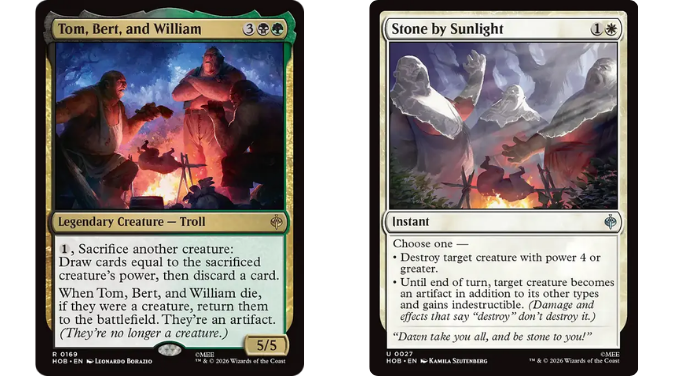
Read on for details on those decks and more, in the official Card Kingdom strategy guide to drafting The Hobbit!
SHAPE OF THE FORMAT
The Hobbit does not have a single headlining set mechanic, the way Lord of the Rings: Tales of Middle-earth had “the Ring tempts you”. But there is a strong set-wide theme of “making creatures stronger”. Whether with Amass, +1/+1 counters, equipment, or temporary triggers, every color is replete with ways to buff your stats and make creatures scarier in combat.
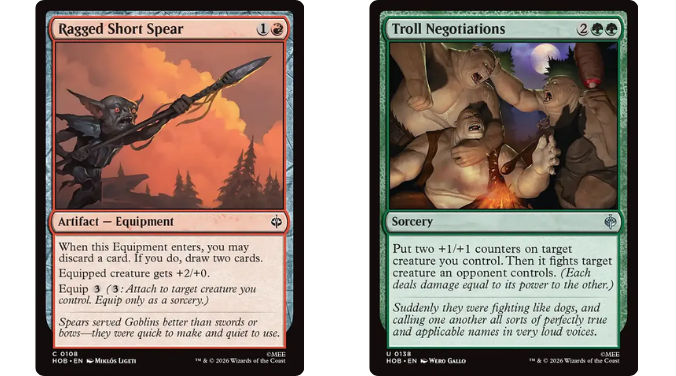
This ability to buff up attackers helps us understand which other cards to prioritize, such as creatures with combat keywords. There are a good number of flying creatures across the set, but relatively little trample even in green. This makes cards that can grant evasion (or other combat keywords like first strike and vigilance) very powerful, especially the “can’t be blocked” effects in blue.
If you can’t get evasive, there’s several mini-sweepers to help cut through a mass of one-toughness blockers. In my experience there’s enough X/1s in the set for these to feel powerful, but not as true answers to a stalled-out board state.
Removal spells that can deal with larger bodies is obviously at a premium, as always in Draft. However, simply having lots of removal may not be enough on its own to stop a determined opponent, since they can keep growing even the smallest bodies to become threats over time.
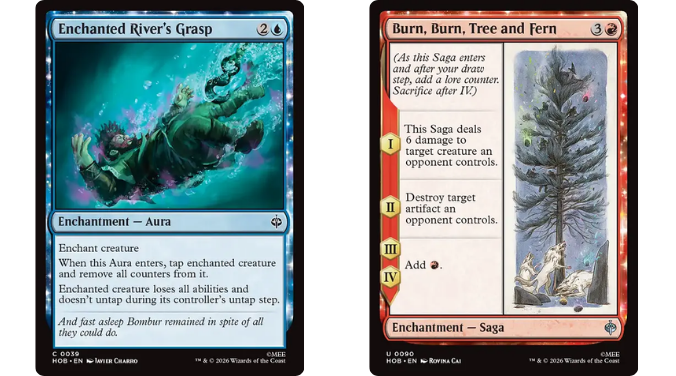
The natural long game granted by repeatable or reusable buffing effects is one reason why it’s hard to play “control” in The Hobbit. The other is how those stat buffs can immediately punish you for falling behind on board, even in the early game.
Think about how playing against red decks complicates the math if you ever “take a turn off” and don’t present a blocker for their attacks. You know how much damage they have on board, but if they have a haste creature or burn spells in hand you might take a lot more!
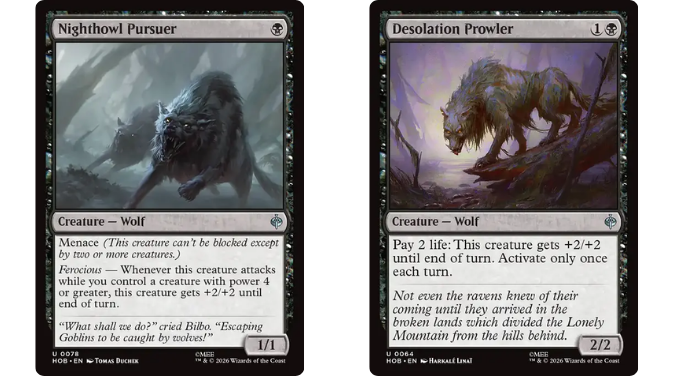
Well, buffing creatures already in play is another way to turn mana into “hasty damage”, and every deck in The Hobbit threatens to do that. In addition, there are plenty of one and two-mana creatures which represent above average damage potential just with their own abilities, and you can absolutely lose for keeping a greedy hand against a combo like Nighthowl Pursuer plus Desolation Prowler.
You cannot afford to be a punching bag for early attacks. But since most removal is designed to kill larger threats (with a commensurately higher mana cost) it ends up making the most sense to also draft a strong early curve of creatures. That way you’re in a position to trade well on defense or turn up the heat yourself against slower foes.
COLOR THEORY
The Hobbit has quite excellent mana fixing, with good taplands, an Evolving Wilds equivalent, and multiple common options for land searching or treasure generation at common and uncommon accessible from any color!
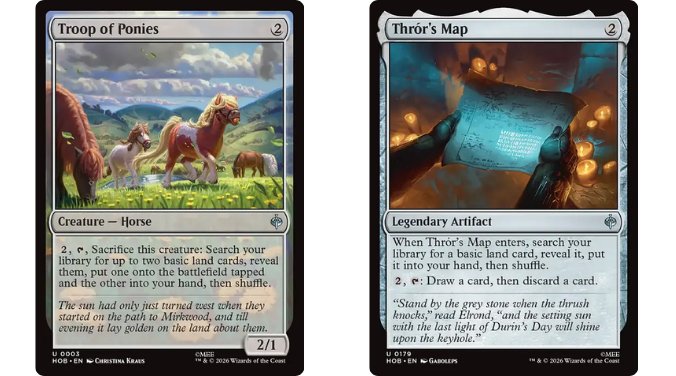
It’s not just the quantity of tools available that’s impressive, but also their quality. Troop of Ponies is a colorless Cultivate that also blocks one opposing attack and can still pick up your equipment and swing in when no other creatures are available. Thrór’s Map replaces itself with your choice of land and has significant synergy with set mechanics in nearly every archetype.
Giant’s Boulder is the lowest-impact card of the bunch but still offers the utility you need when you need it – and as we’ll see, this set gives you a lot of ways to make the most of cards you decide you don’t need.
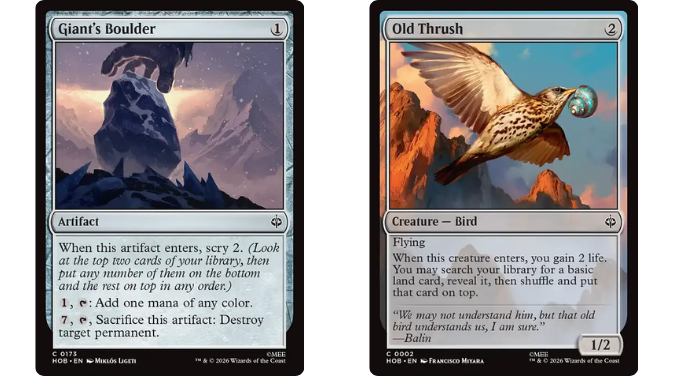
Despite this abundance of good fixing, this does not seem to be an environment where players are looking to play four- and five-color decks. This might be due to the limited overlap in mechanics between different archetypes, or how hard you can get punished for an awkward start. Even the best-constructed multicolor mana bases will stumble occasionally and not being able to play your two or three drop on curve might give your opponent a window to snowball their advantage disastrously.
The end result: most decks are comfortably based in one of the five supported color pairs (see below for more). But you should still keep one eye open while drafting for any splashable bombs or removal, since you can quite reliably include the fixing needed to support such a splash.
In The Hobbit, only five color pairings are officially supported as draft archetypes (a design we also saw recently in Secrets of Strixhaven). These archetypes match the five combatants from the “Battle of Five Armies” which concludes the plot of The Hobbit: Men, Elves, Dwarves, Goblins and Wargs.
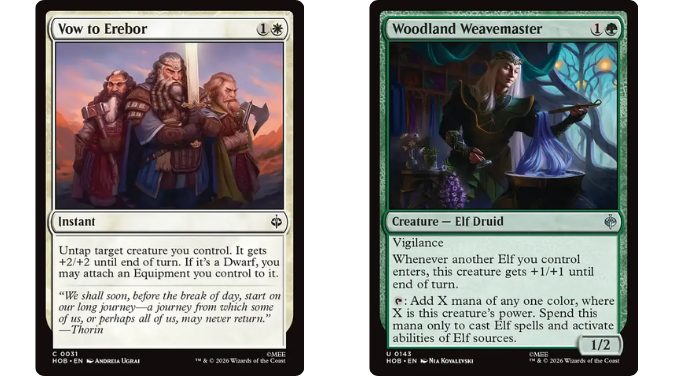
The correlation between the primary mechanic of each color pair and its assigned type (e.g. dwarfs and equipment) is strong enough to make this feel like a typal Draft set, although only a handful of cards actually reference the types directly.
Of course, you’re still able to draft a deck from one of the “unsupported” color pairs. For example, you might have a very strong lane to draft white and take almost a whole deck’s worth of white spells, but also find a couple of black rares and black removal spells that would be the most powerful way to fill out your slots. But without any gold uncommons or rares appearing in those colors, and a much higher chance to find good synergies between cards in supported pairs, it’s simply unlikely to find yourself in that scenario without a better color pairing being available..
ARCHETYPE BREAKDOWN
WU: Humans & Draw-Twos
The Human army, led by Bard of Lake-town, has many abilities that trigger when you draw your second card for turn. Usually this means finding ways to draw one extra card on your own turn, such as the new recruit mechanic.
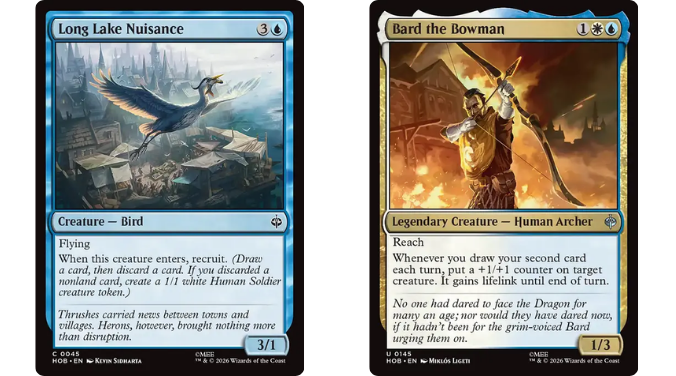
Triggering recruit allows you to draw and discard, producing a bonus 1/1 token if you discard a nonland card. But whether or not you make the token, you’ll be setting off all your buffs and bonuses just by drawing.
Recruit is a perfect mechanic for this deck, but you should still look for other ways to draw that second card – especially if you can set it up to happen without spending mana on that turn. Sagas like Old Fat Spider Can’t See Me or The Mountain-king’s Return (bringing back Bilbo Baggins, Burglar or Patient Instructor) are great for this.

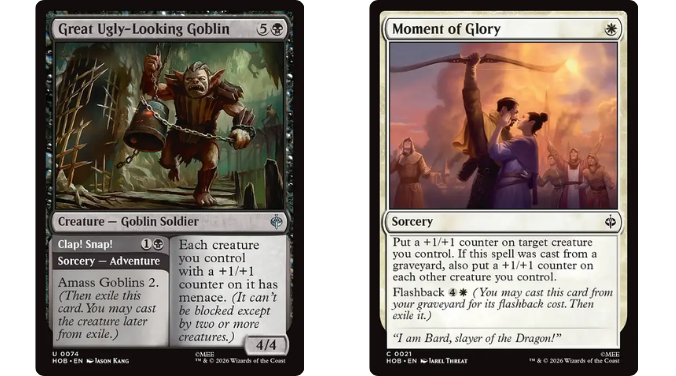
With this ability to generate chump blockers and slow (but virtually unlimited) buffing, UW enjoys creating board stalls and slowing the game down. Their win conditions suit that playstyle as well. Slowly mill them out with Master’s Councillors, give your biggest creature evasion with Eagle’s Rescue or Elvenking’s Harper, or go wide and then punch through with Thorin’s Last Stand or flashed-back Moment of Glory.
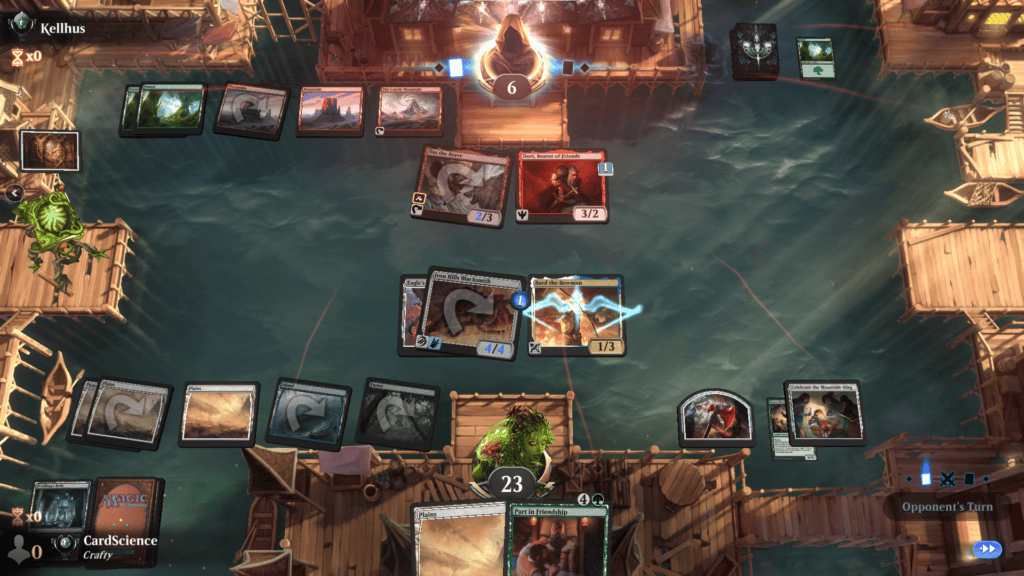
Despite the color combination, focus on card draw and slower gameplan, you should not mistake this for a reactive UW control deck. While you can trigger draw-two effects on an opponent’s turn with Confusticate and Bebother or flashed back Plunder the Trollshaws, I don’t think there’s good enough instant interaction or card advantage to make that your default gameplan. Your best cards demand you invest mana on your own turn, and you should embrace that “defensive midrange” identity in your drafting and deckbuilding.
WR: Dwarfs & Equipment
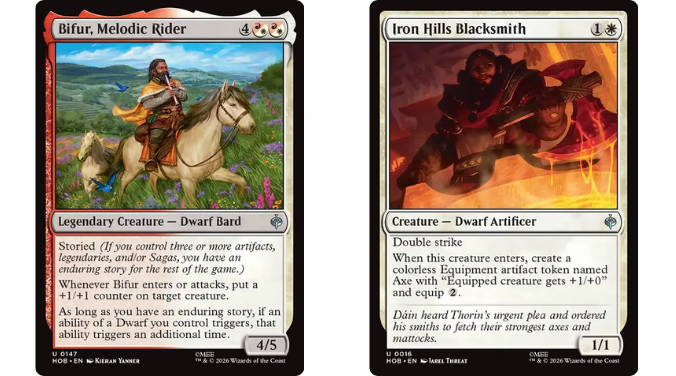
Led by the company of Thorin Oakenshield with reinforcements from the Iron Hills, the army of Dwarfs uses equipment to ensure combat dominance from the start of the game.
I will warn upfront: that doesn’t mean you should draft and play every single equipment you see. There’s only two spells which produce both a creature and an equipment at the same time, so you need to prioritize creature count and other important effects like removal.

You’ll also notice that only some dwarf cards specifically synergize with equipment, so how many of those you draft will adjust how you prioritize picking cards like Ragged Short Spear or Well-Worn Spatula. But in general, equipment works very well with what RW is trying to do – constantly have attackers big enough to make blocking uncomfortable.
The real difference-maker for this gameplan is first strike, which invalidates deathtouch blockers and means you need less stat buffs for attacks to feel “safe”. Besides Dwalin at rare, the only ways to get first strike are Smaug’s Fury (as a one-off trick), Nori, Teller of Tales, and Lake-Town Toymaker.
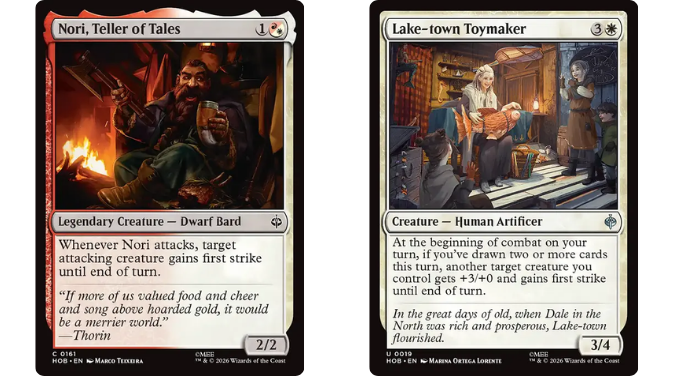
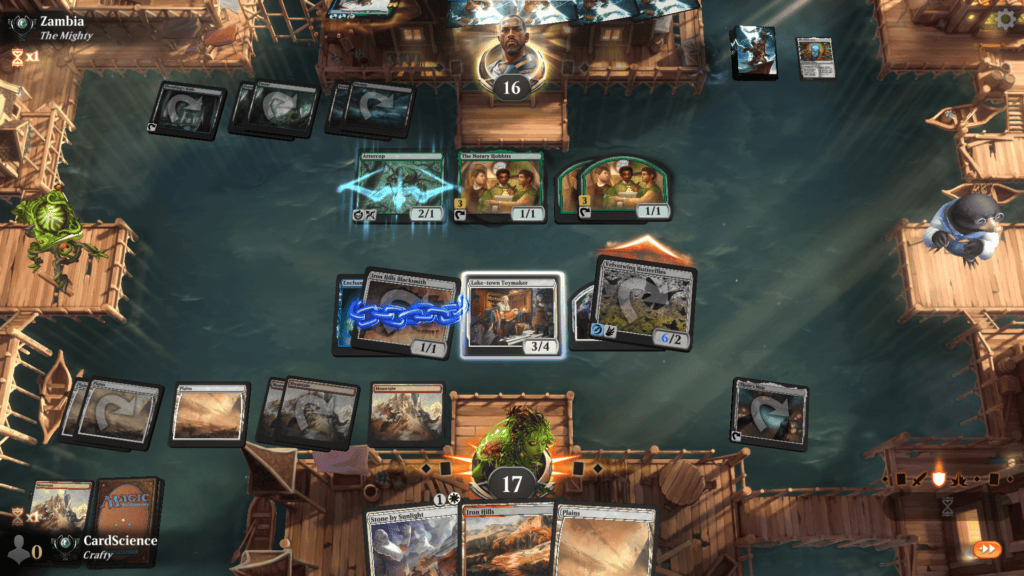
Toymaker may appear like it belongs in the UW deck – and it is good there – but in RW it can be irreplaceable. Having a Toymaker online significantly improves the value of equipment buffs, but if you can trigger it every turn then the equipment may not even be necessary!
Luckily the RW deck has two very efficient looting engines to pair with Toymaker: Thrór’s Map, and Óin the Brave. Between these cards and one-off draws from recruit cards and Ragged Short Spear, it’s easy to make Toymaker feel at home in these colors.
RW is actually well-positioned to splash thanks to treasures, Thrór’s Map and Old Thrush (valuable as a cheap flying equipment-holder). Keep an eye out for off-color cards like Crude Bent Blade which support your main plan.
BR: Goblins & Sacrifice
The hordes of goblinkind strike an interesting balance between using Amass and other buffs to create large valuable creatures, and sacrificing less valuable bodies to fuel their effects.
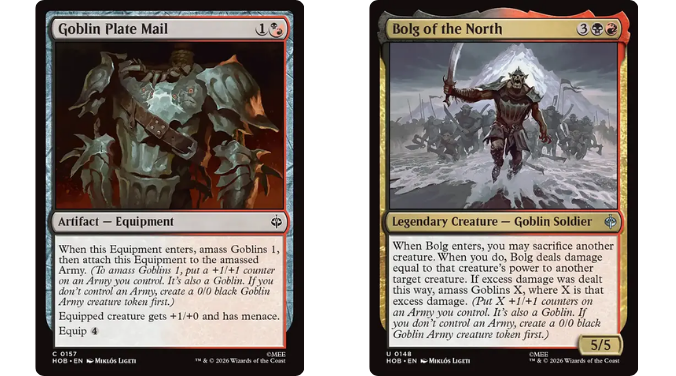
Amass remains one of the most sneaky-difficult mechanics to use well in any Limited set. While it is usually a very efficient way to add stats to your board, I think players forget that you can’t choose where that power and toughness goes.
In some situations it’s really powerful to have access to so much “hasty power”. If your curve is Tidings of War, Goblin Plate Mail, Crude Bent Blade, flashback Tidings, and your opponent didn’t have a kill spell for that army, you’re going to end the game very fast. But if you’re the one trying to block a menace creature, or you need to try and break through a wall of 1/1 blockers from recruit, only being able to make one super-massive token can quickly become a drawback!
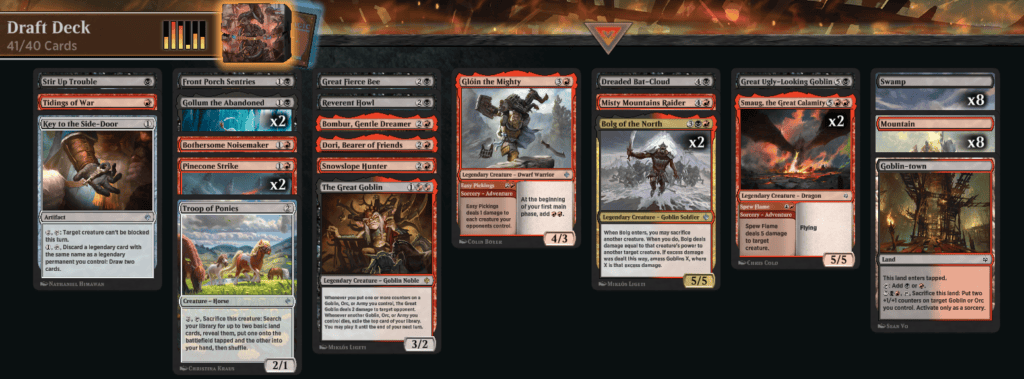
Remember, there’s very few ways to gain trample or other evasion outside mythic rares in this set – and all of them will require you to splash outside RB. This isn’t actually a bad idea: adding green for Wargling and Warg Tactics will make your big army much scarier. Goblins and Wargs being natural allies – flavor win!
For the straight-up RB deck, it’s important to understand the two “modes” of using amass and switch between them based on the situation. If having a bigger individual body would make it possible to “safely” attack the opponent without risking bad trades (or stop them “safely” attacking you), then you should try and keep your army alive so you can stack amass counters until it’s big and strong.
But imagine you’re racing with Dreaded Bat-Cloud (or looping Gollum the Abandoned ETBs) and just need chump blockers on the ground. Or both players are in top-deck mode and you need to pull ahead with Snowslope Hunter. Then you try to “use up” the army token in between each amass effect to maximize the number of different bodies it will produce!
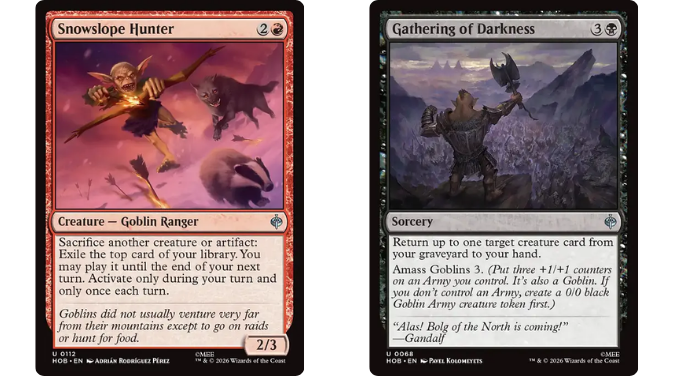
RB usually ends up slowing the game down and trying to win by attrition, and both ways of using amass can be crucial to helping you get there. This deck also gets a TON of two-for-ones: Rage into the Valley, Stony-Voiced Goblins, Head of the Hunt, Gathering of Darkness, Reverent Howl… and that’s only the black ones. If you play with a trade-happy mentality and keep some removal back for the opponent’s rare bombs, you should easily grind out most games.
UG: Elves & Landfall
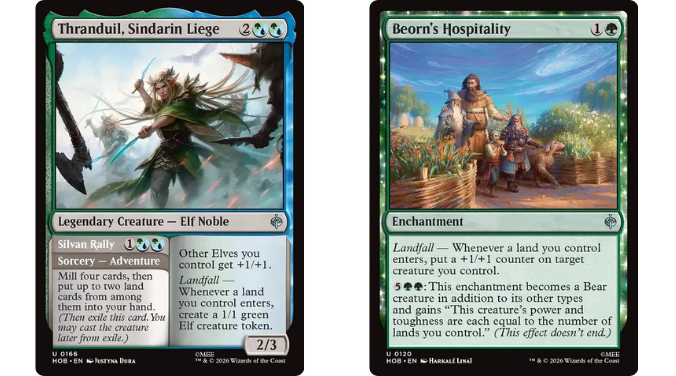
Led by King Thranduil, the elves of The Hobbit are not so grim and warlike as we see them amidst the crisis of The Lord of the Rings. Their approach in this Draft format is suitably passive and self-centered: they just want to sit around, stockpile resources and make merry! So long as they survive and their power grows, their victory will be inevitable.
The first key to that gameplan is landfall triggers. You particularly need the ones which add stats to your board: Thranduil, Sindarin Liege and Beorn’s Hospitality, plus Mirkwood Pathmaker and a few excellent rares.
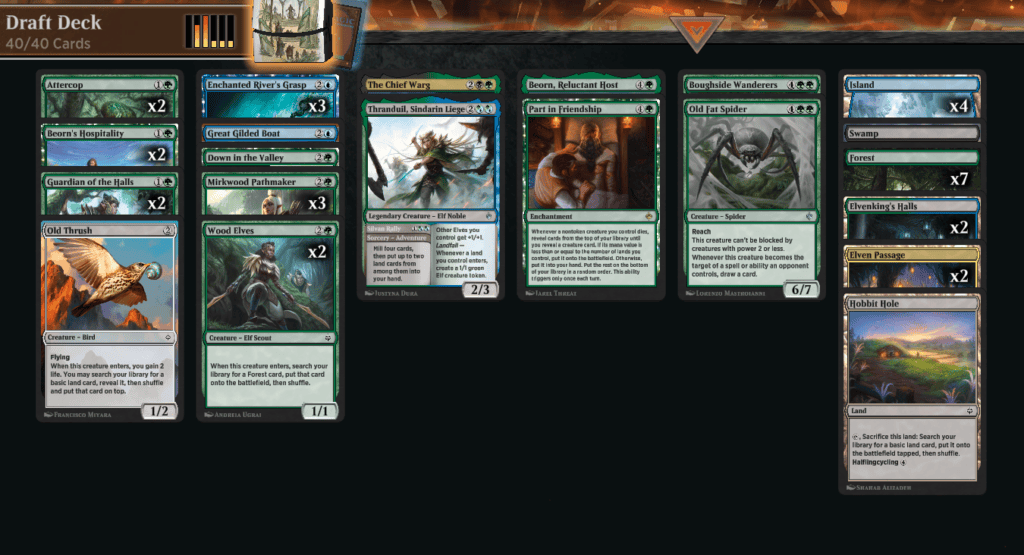
Green doesn’t have a monopoly on large creatures OR ramp in The Hobbit, so simply accelerating out big threats is less effective. Landfall cards help our long game: not only do they make lands feel like impactful top decks, they save us having to choose between developing our mana and reinforcing our board when we’re in that one-card-per-turn situation.
That ends up mattering because one of the best ways for UG to go over the top is with mana sinks. There are notably fewer of those in other colors this set, so the fact commons like Elvenking’s Harper and Guardian of the Halls can suddenly turn into win conditions really stands out when you hit the late game.
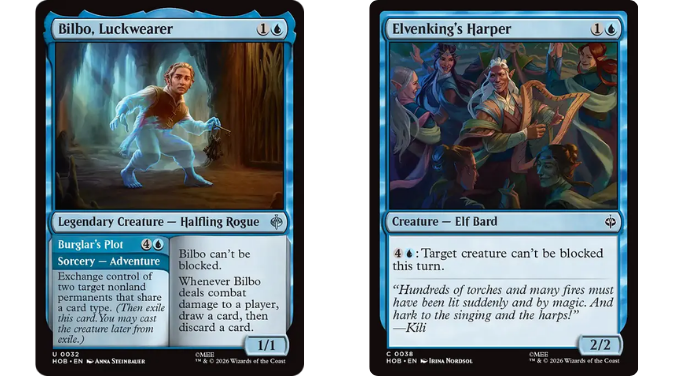
The other way to swing those end-game scenarios is with certain high-impact interaction spells. One downside of playing slowly is giving opponents time to draw their best bombs – both Thranduil’s Decree and the adventure on Bilbo, Luckwearer flip that into a killer advantage.
You’ll also have plenty of time (and land searching) to fix for any splash colors you want, so pick up anything off-color that helps you stay alive or accumulates resources over time.
BG: Wargs & Big Bodies
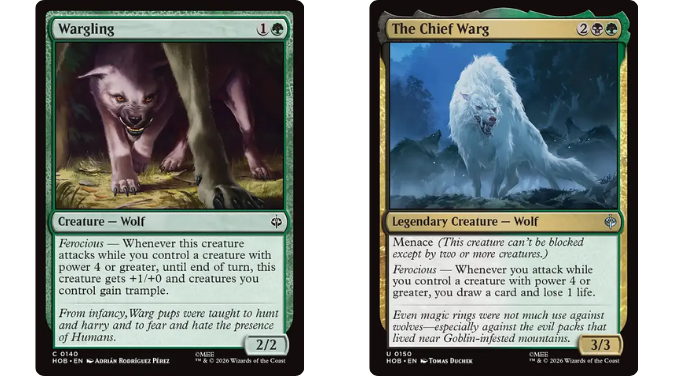
Last of the five armies is the Wargs – intelligent and aggressive wolf-beasts which are accompanied (in this set) by various other forest creatures. I’m not sure what the lore-heads think about bears of Beorn fighting alongside The Chief Warg, but I do recall the bears described as battle-ragers prone to a bit of friendly-fire, so we’ll call it good and move onto Draft strategy.
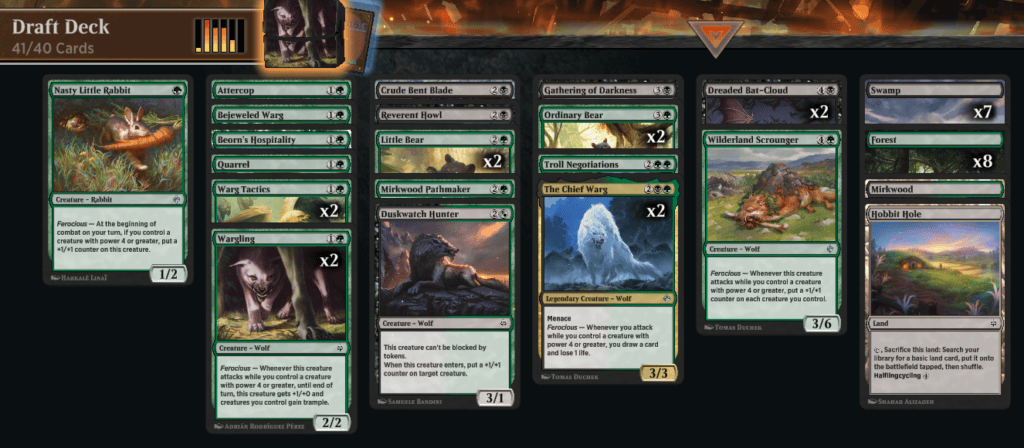
The signature mechanic for this color pair is ferocious, a.k.a. “cards that are better when you control at least one creature with power four or greater”. You should keep this threshold strongly in mind while you’re evaluating and drafting creatures in these colors.
Duskwatch Hunter and Mirkwood Nurturer give you a guaranteed four-power creature for three mana at common, immediately switching on early drops like Wargling, Nighthowl Pursuer, and Nasty Little Rabbit.
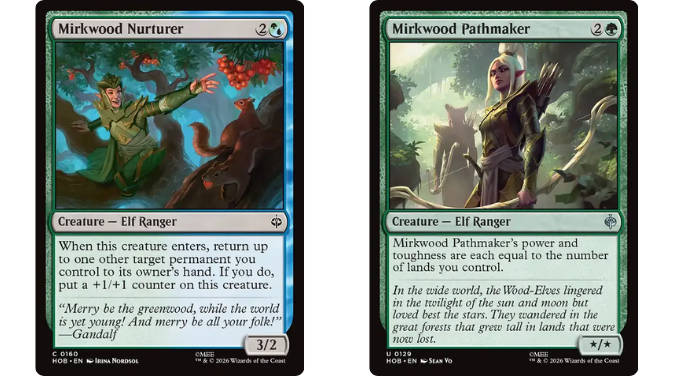
Having ferocious active on turn three also lets you follow up with The Chief Warg next turn and immediately trigger him that combat, which is the ideal way to play him. The other ways to have four power that early are Mirkwood Pathmaker (plus making your fourth land drop) or getting the discounted cost on Dreaded Bat-Cloud. Unfortunately, they’re both strong in other archetypes, so you’ll need to take them highly if you want them.
The other top-priority card in GB is Warg Tactics. Every part of the card is extremely valuable, which ironically makes the anti-flyer mode more of a last resort when you can’t find Attercop or other removal.
This deck is very vulnerable to having your only big creature removed at the beginning of combat before you can trigger ferocious (if it dies after you declare attackers, you still get the benefits). The other issue you can run into is forcing damage through chump blockers. The number of big bodies in GB will eventually wear down most opponents, but you can easily get raced by fliers or other tricky threats before that happens.
Granting both trample and hexproof at instant speed makes Warg Tactics your ace in the hole for both scenarios, one of the few combat tricks with true game-flipping potential in this set (the lifelink mode on Reverent Howl is another one).
AN ENDURING STORY
I’m sure every Universes Beyond set slides up or down people’s Draft rankings just based on how much joy that particular IP brings them. That already stands The Hobbit in good stead, since Middle-earth is one of the most universally revered fantasy worlds ever dreamt of. But I will say it’s extra delightful to find myself not only enjoying the verisimilitude of goblins pairing with wargs or men with elves and dwarves, but the many subtle interactions that emerge as you play the set.
The Hobbit doesn’t overwhelm you with rules complexity or distort basic gameplay. But it does focus heavily on giving you choices about how to spend resources, without also giving you easy ways to accumulate more. It forces you to consider your choices carefully and makes you feel that most games could be winnable if you took different risks.
For me at least, that’s the kind of gameplay that keeps me interested in a format long-term. I can’t wait to discover how the rest of my Draft journey with The Hobbit plays out – and I hope all of you who try it feel the same.
BONUS POSTSCRIPT
Thanks for reading to the end of the guide! Here’s my top common/uncommon cards to pick from each color in pack one, when you’re trying to figure out your direction:
WHITE: Stone by Sunlight, Celebrate the Mountain-king, Bofur, Reliable Guardian, Iron Hills Blacksmith, Lake-Town Toymaker
BLUE: Bilbo, Luckwearer, Old Fat Spider Can’t See Me, Ravenhill Flock, Enchanted River’s Grasp, Master’s Councillors
BLACK: Head of the Hunt, Dreaded Bat-Cloud, Bilbo’s Deadly Slice, Desolation Prowler, Stir Up Trouble
RED: Bothersome Noisemaker, Burn, Burn, Tree and Fern, Smaug’s Fury, Pinecone Strike, Misty Mountains Raider
GREEN: Mirkwood Pathmaker, Beorn’s Hospitality, Attercop, Wargling, Troll Negotiations
OTHER: Bifur, Melodic Rider, Thranduil, Sindarin Liege, Thror’s Map, Goblin Plate Mail, Troop of Ponies

Tom’s fate was sealed in 7th grade when his friend lent him a pile of commons to play Magic. He quickly picked up Boros and Orzhov decks in Ravnica block and has remained a staunch white magician ever since. A fan of all Constructed formats, he enjoys studying the history of the tournament meta. He specializes in midrange decks, especially Death & Taxes and Martyr Proc. One day, he swears he will win an MCQ with Evershrike. Ask him how at @AWanderingBard, or watch him stream Magic at twitch.tv/TheWanderingBard.